Advanced stack editing
Introduction
In this example we will create a Stack with a single VM acting as a database server. In this example we will cover:
- Creating a Stack
- Editing Stack
user_datasection to install MySQL server whenever a VM is built - Using Custom Variables to create a database table and to place a file in user’s home folder
Table of contents
Full Stack
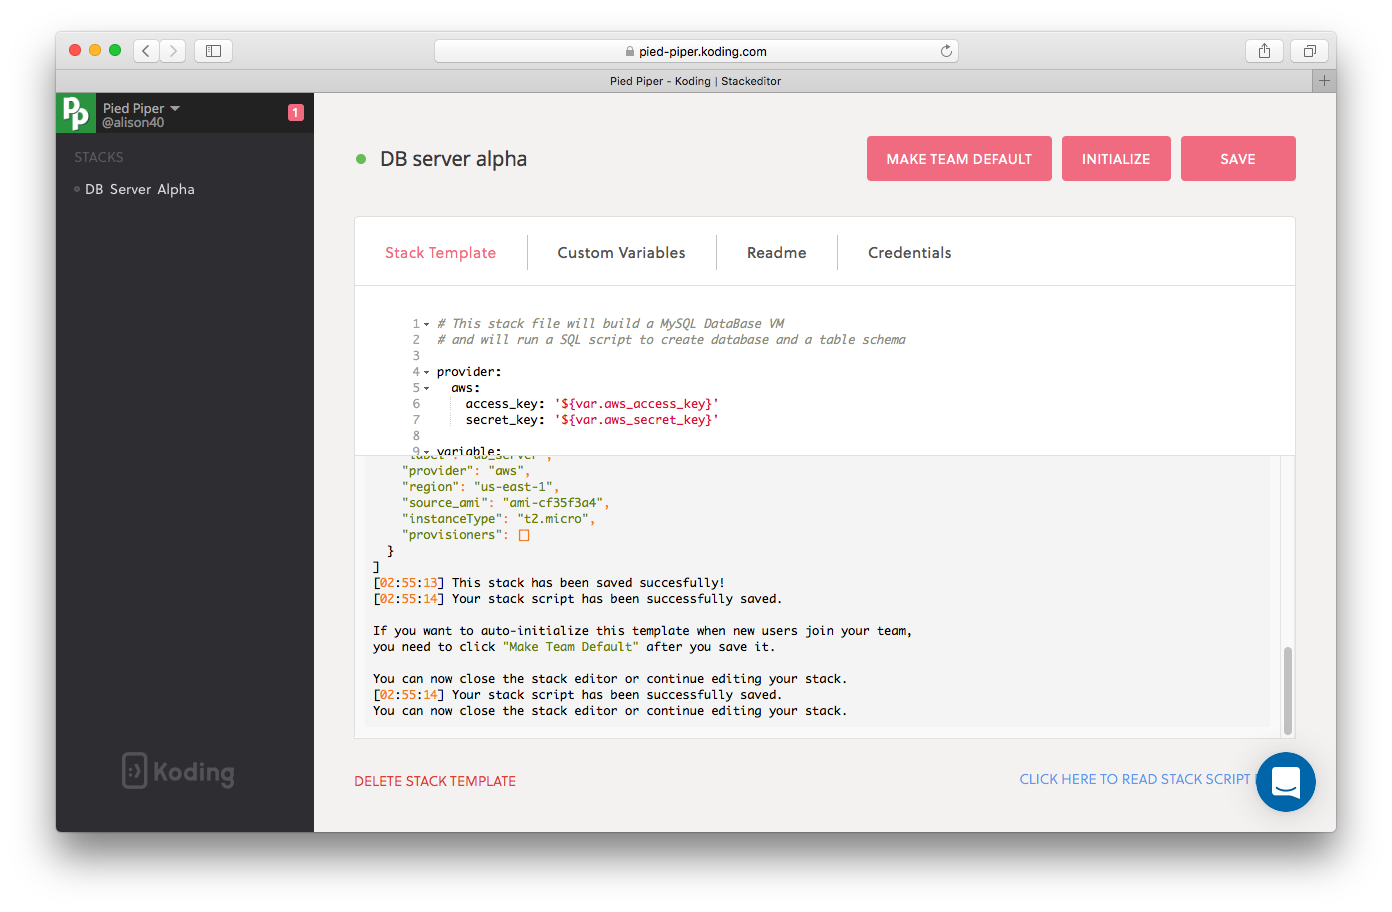
If you want to skip the explanation, here is how your final Stack template will look:
# This stack file will build a MySQL Database VM
# and will run a SQL script to create database and a table schema

provider:
  aws:
    access_key: '${var.aws_access_key}'
    secret_key: '${var.aws_secret_key}'

variable:
  my_DB_construct:
    default: 'create database customer_accounts;use customer_accounts;create table customers(CustomerID int,LastName varchar(255),FirstName varchar(255),Address varchar(255),Phone varchar(255),PRIMARY KEY (`CustomerID`));'

resource:
  aws_instance:
    db_server:
      instance_type: t2.micro
      user_data: |-
        DEBIAN_FRONTEND=noninteractive
        apt-get update -y
        apt-get install -y mysql-server-5.6
        echo '${var.my_DB_construct}' > /home/${var.koding_user_username}/dbconstruct.sql
        mysql -u root "" < /home/${var.koding_user_username}/dbconstruct.sql
Steps
Create a stack
- Click Stacks
- Click New Stack
- Choose Amazon Web Services -> Click Next
- Set your AWS credentials in the Credentials tab
For a step by step guide on how to create an AWS stack check here
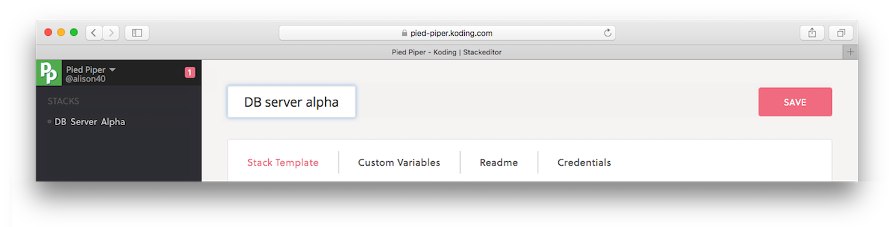
Edit your stack name
It is a good practice to name your Stack, specially if you plan to have multiple stacks. We named our stack “DB server alpha”
Edit your VM name
Let us also rename our VM to something more descriptive, the name of the VM is defined under the aws_instance: header. In our case we chose the name ‘db_server’.
resource:
  aws_instance:
    db_server: # name changed to 'db_server'
      instance_type: t2.micro
Modify the user_data section
We will add commands to the user_data section to install MySQL. The user-data section contains the commands we want to run when the VM is first built. All commands here run as root. In our example, we want to:
- Update packages list
- Install MySQL unattendedly
    user_data: |-
            DEBIAN_FRONTEND=noninteractive
            apt-get update -y
            apt-get install -y mysql-server-5.6
- Using the pipe dash “|-“ after the
user_data:header will allow you to write your commands on several lines (multi-lines)
Create a variable section
We will now create a variable in our Stack file. This variable will hold our table schema example. (Later on, we will call this variable to create the Database table on the VM after MySQL is installed.)
The database schema we will use is:
create database customer_accounts;
    use customer_accounts;
    create table customers
    (
        CustomerID int,
        LastName varchar(255),
        FirstName varchar(255),
        Address varchar(255),
        Phone varchar(255),
        PRIMARY KEY (`CustomerID`)
    );
We create the variable: section between the provider and the resource sections. We define a variable name (my_DB_construct) and set its default value to our db schema string:
variable:
   my_DB_construct:
     default: 'create database customer_accounts;use customer_accounts;create table customers(CustomerID int,LastName varchar(255),FirstName varchar(255),Address varchar(255),Phone varchar(255),PRIMARY KEY (`CustomerID`));'
Update the user_data section
We will update the user_data section to create our database schema and save the schema in a file in the user home directory. This will show how variables are placed in our Stack Template
user_data: |-
    DEBIAN_FRONTEND=noninteractive
    apt-get update -y
    apt-get install -y mysql-server-5.6
    echo '${var.my_DB_construct}' > /home/${var.koding_user_username}/dbconstruct.sql
    mysql -u root "" < /home/${var.koding_user_username}/dbconstruct.sql
echo '${var.my_DB_construct}' > /home/${var.koding_user_username}/dbconstruct.sql- This line will dump the value of the variable ${var.my_DB_construct}, our database schema, into a file named dbconstruct.sql
- We also made use of the variable ${var.koding_user_username}, which holds the username of the user logged in to Koding, to add the file to the user home directory using the absolute path.
mysql -u root "" < /home/${var.koding_user_username}/dbconstruct.sql- We login to MySQL using root user and use the dbconstruct.sql file as input to MySQL to create our database.
Let’s build our Stack & test!
-
Click SAVE, you should see the message that your stack was built successfully if all is well.
-
Click Make Team Default, this will populate your stack to the team and send them updates that a new stack is in place.
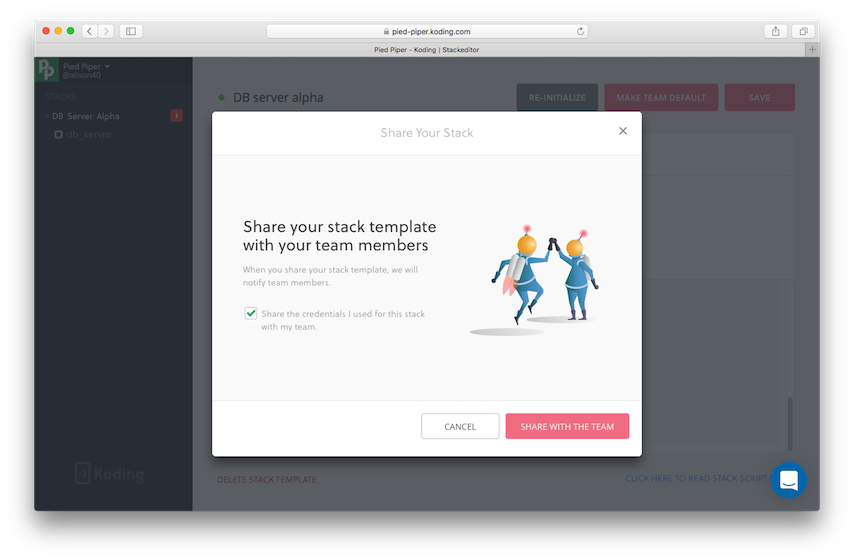
Choose whether you wish to enable the checkbox share your credentials with the team, then click Share with the team
Sharing your credentials with your team is very helpful if you don’t want your team (developers/students) to go through creating an AWS account each, or if you want to have full control over the machines created in AWS.
Sharing your AWS credentials means all built machines will be under your AWS account, which will incur charges to your AWS account for each machine built by your team.
-
If you are updating an already created stack, please note: Any data that was on your earlier Stack VM’s will be removed when you choose to build/re-initialize the new stack this also applies to your teammates when they click build/re-initialize new stack. When a user chooses to Build the new Stack all their VM’s will be re-initialized as complete new VM’s with the new configuration from your stack template. A warning will pop up to alert the user about this before continuing to build the new stack. Please make sure to backup your data before building your new stack in that case!
-
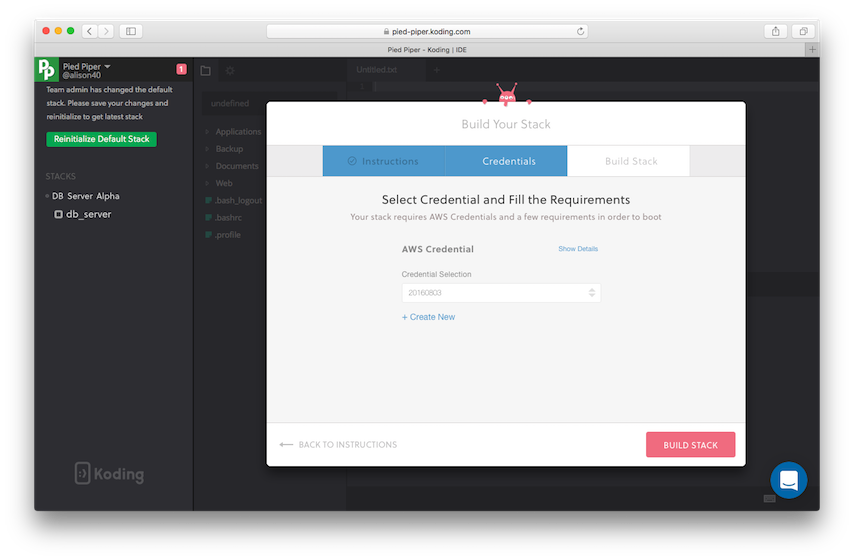
The Build Your Stack modal will open, click Next

Noticed the Read Me First content? This is the readme that is defined by default when creating a stack, you can edit its content from the Readme tab during Stack creation.
-
Choose the credentials you want to use with your stack and click Build Stack
-
Stack building will start..
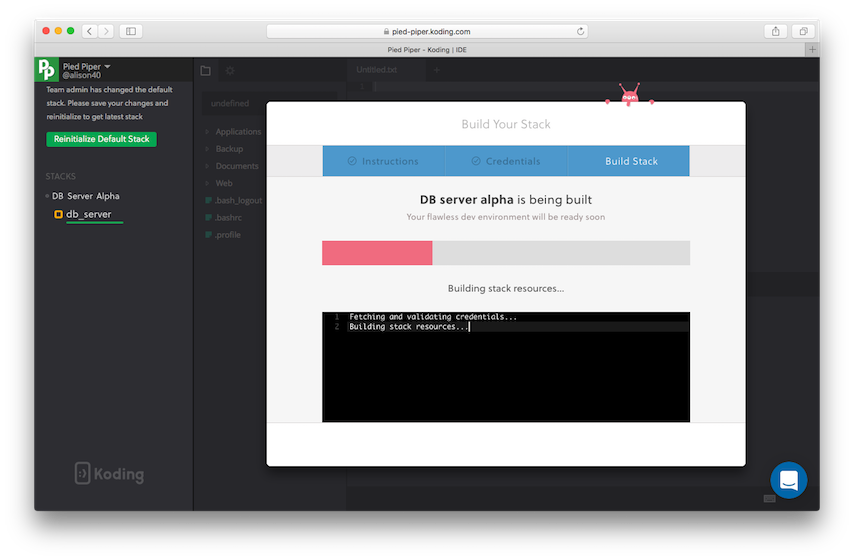
-
Successfully built stack, click Start Coding
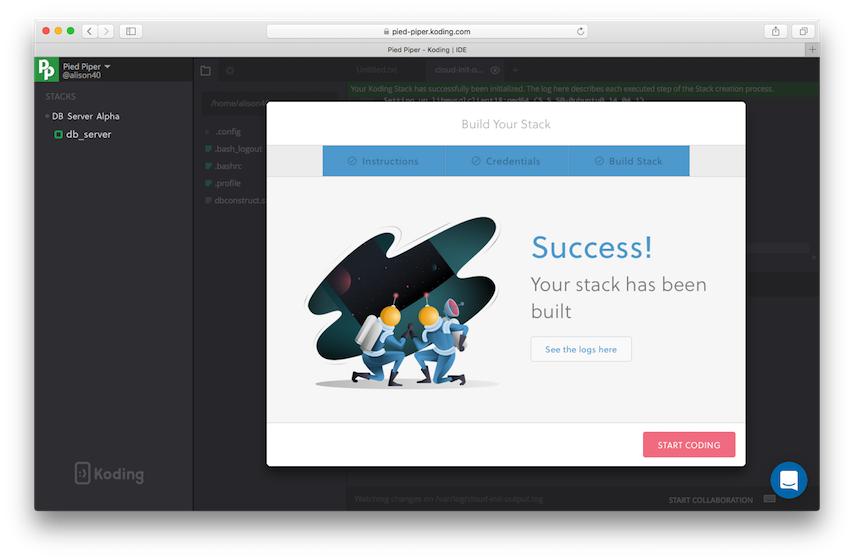
-
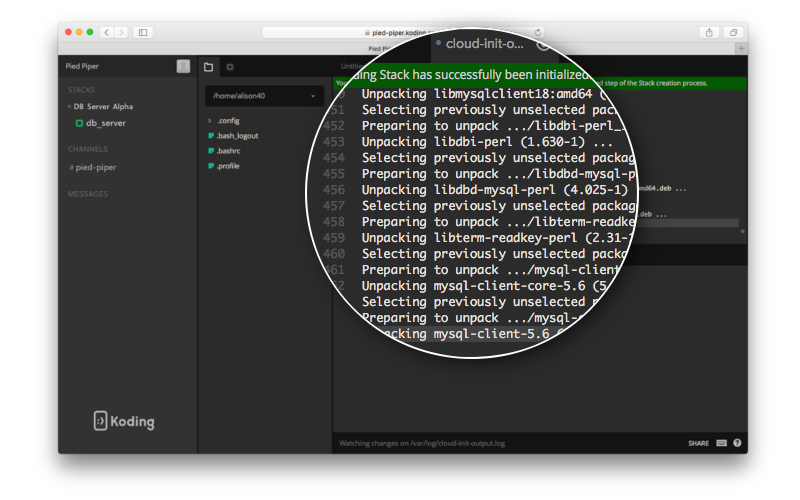
user-data commands still running
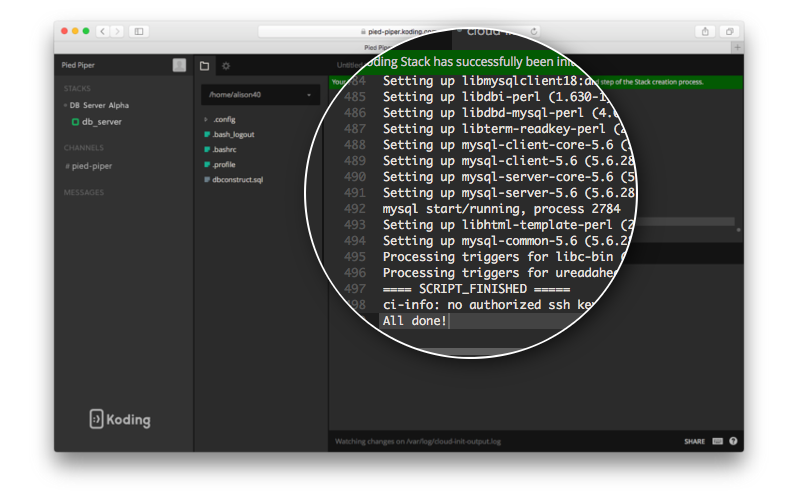
user-data commands complete we can now start using our VM(s)
-
Let us check if our
user_datacommands ran successfully. If all went well, we should be able to see the file dbconstruct.sql created, and that it contains our DB Schema, MySQL installed, and the customer_accounts database created with a customer table as defined in our DB schema file. Here’s a reminder of ouruser_datablock from our Stack Template
user_data: |-
    DEBIAN_FRONTEND=noninteractive
    apt-get update -y
    apt-get install -y mysql-server-5.6
    echo '${var.my_DB_construct}' > /home/${var.koding_user_username}/dbconstruct.sql
    mysql -u root "" < /home/${var.koding_user_username}/dbconstruct.sql
- Let’s first see if the file dbconstruct.sql was created and that it contains our DB schema commands as we defined it in our
variableblock.
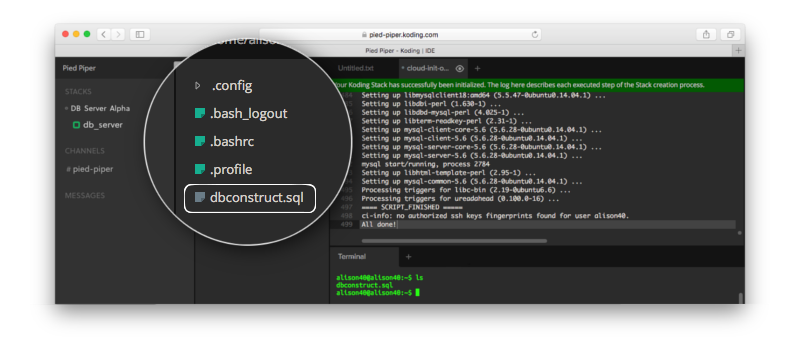
Yes! all is well, the file exists in our Files viewer section in Koding, or by typing in the ls command.
- Opening the file shows that our variable content was dumped in the file as we expected

-
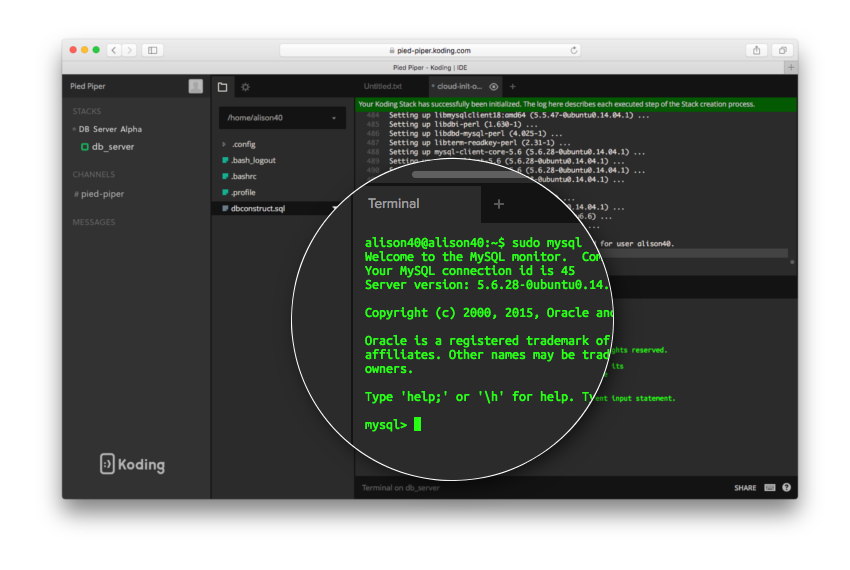
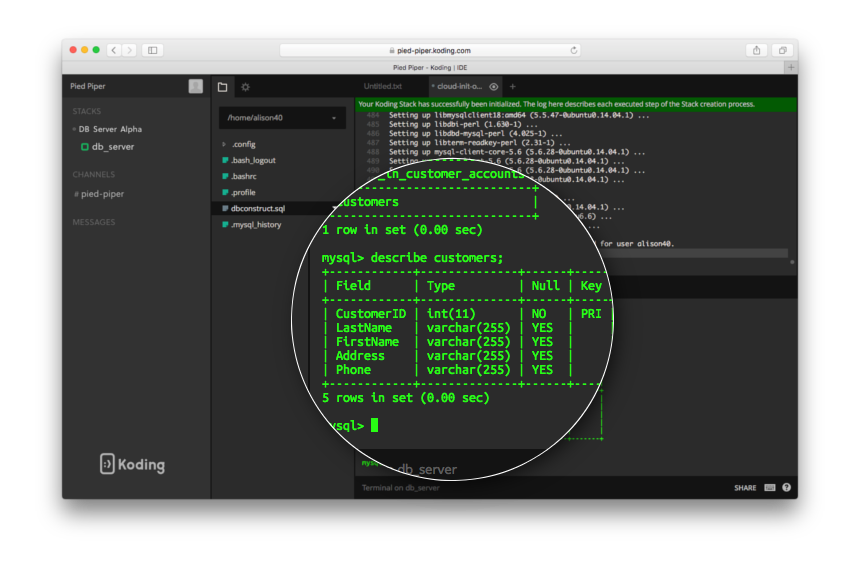
Time to check if MySQL database was installed and our customer_accounts database and table customers created successfully.
MySQL has been installed
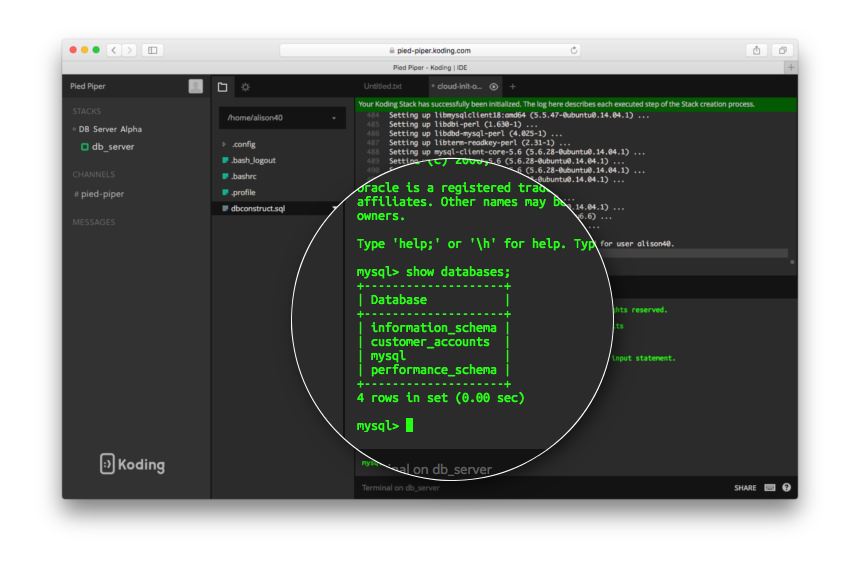
Our customer_accounts database created successfully
Our customers table created successfully
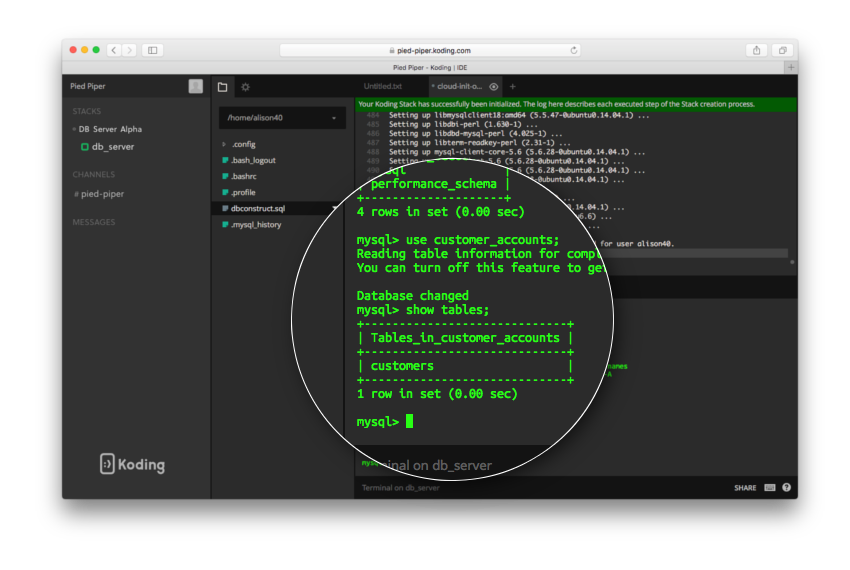
Our customers schema is in place
Conclusion
Congratulations! you are now ready to create customized Stack files to install packages and use variables to help you setup your VMs. You are now sure all your team have the same exact setup. Onboarding a new team member is now a breeze, all they need to do is get invited to the team and start their stack!
Happy Koding!