Create a SoftLayer stack
Introduction
This guide will help you build a SoftLayer stack. SoftLayer by IBM offers bare metal servers and virtual servers integrated in a seamless, fully-automated platform on IBM data centers.
You can configure the number of VMs and applications installed on each VM instance. Along with configuring VM size and region. Your new team members will be able to use your stack to build their VMs environment and start working from day one.
Step by step guide
-
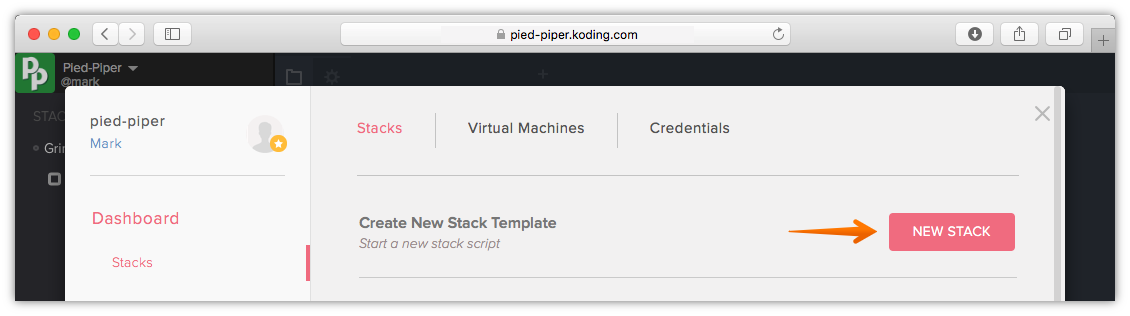
Click Stacks

-
Click New Stack
-
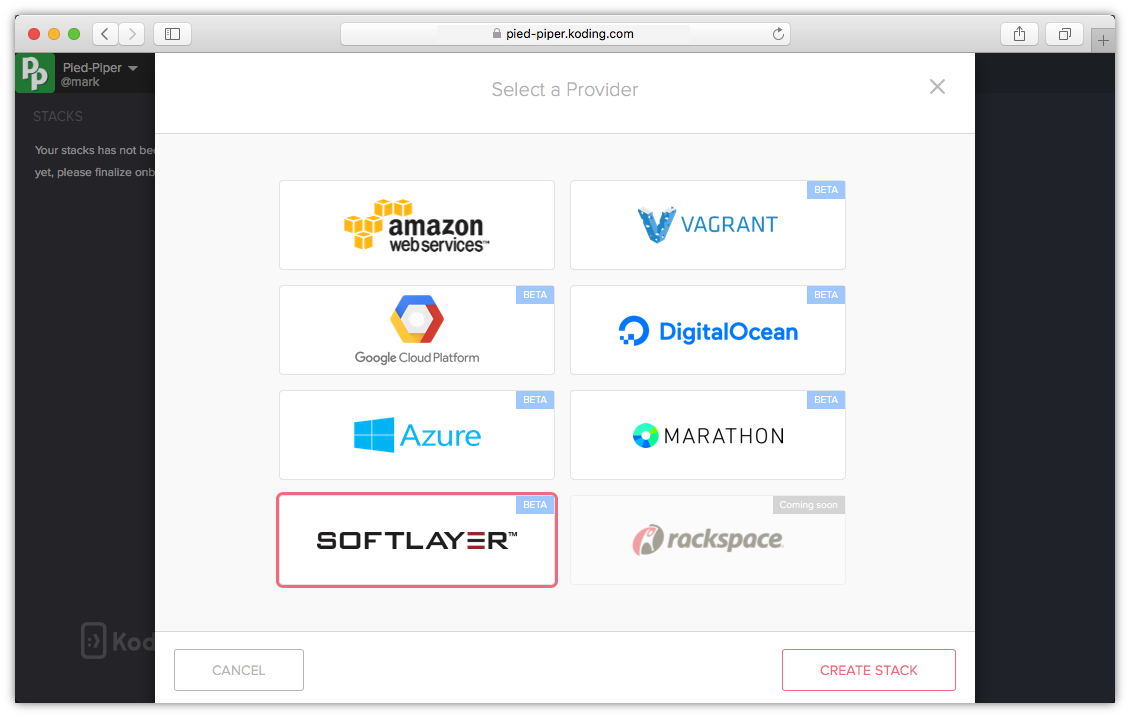
Choose SoftLayer and click Create Stack
-
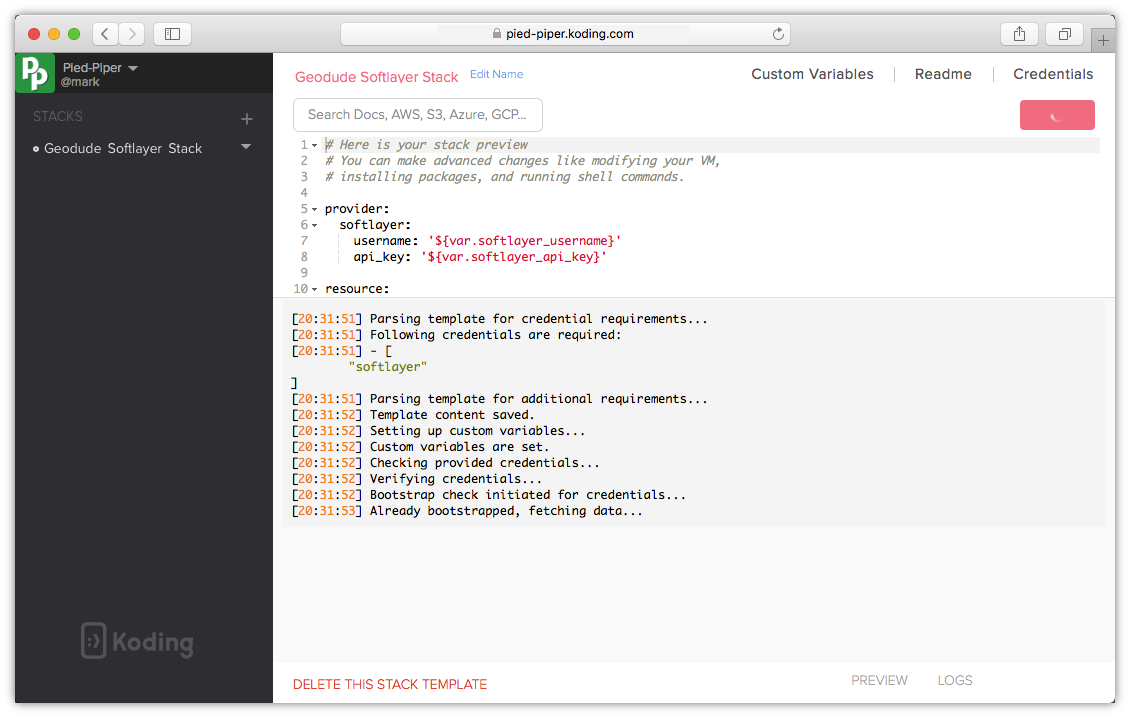
You will now see the default stack template for SoftLayer. You can give your stack a name by clicking on the Edit Name on top beside your stack title. The three tabs represent:
- Custom variables: define custom variables to use in your stack template, hidden from Team members
- Readme: this text will be shown in a message box when your team starts to build this stack. You can add instructions or notes for your team to read
- Credentials: add your SoftLayer account credentials here
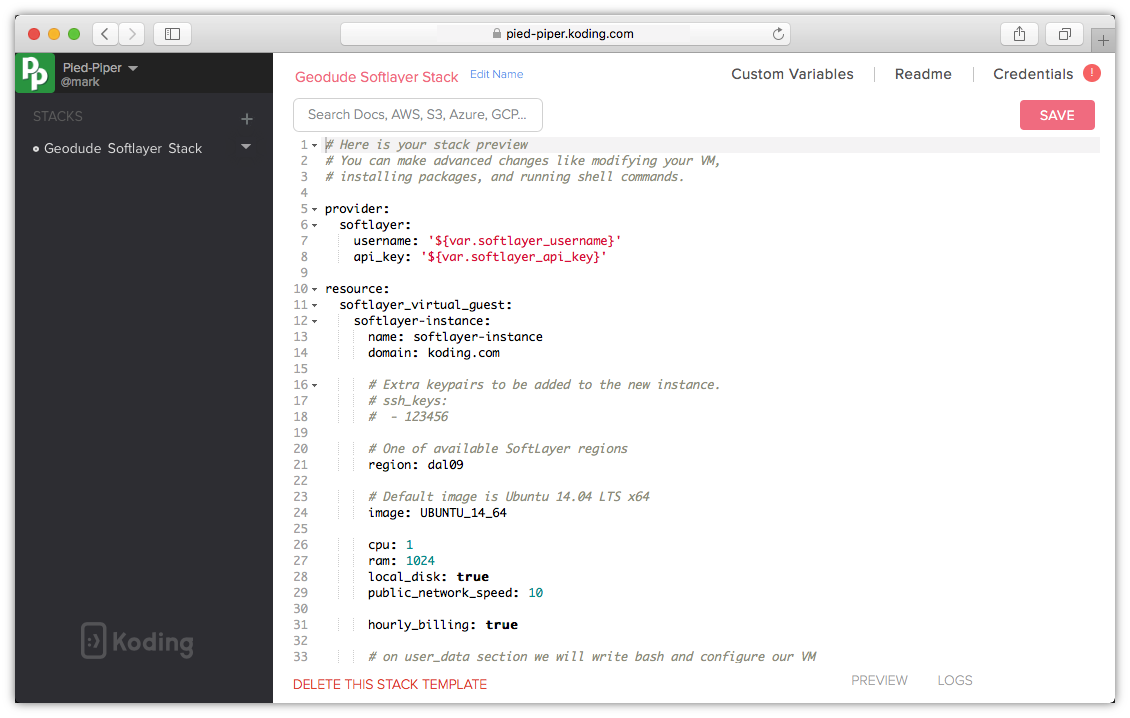
Review the Stack Template file to add/modify/remove any of your VM configurations
You can add commands to run once your VM starts under the user_data section. For example you can choose to install services/packages once a VM starts. Commands under the user_data section will run as
rootwhen the VM boots.Click on the stack name to return to your Stack template editor.
-
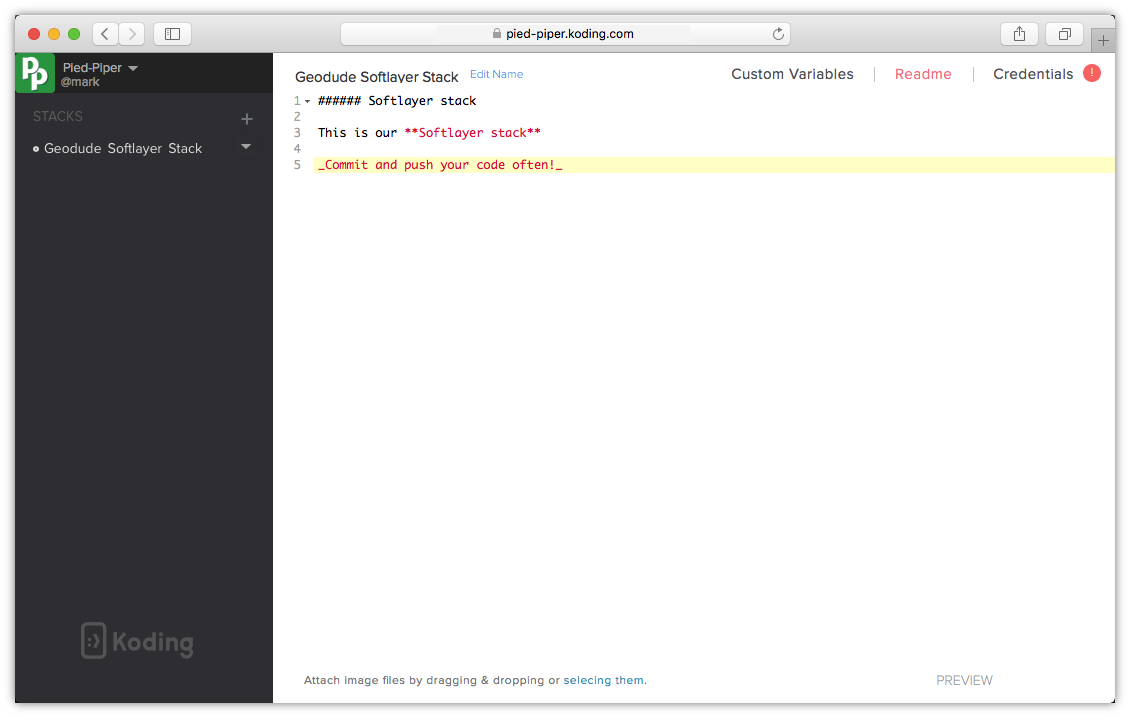
Edit your Readme section to greet your team and provide them with information or instructions. You can use markdown format
-
Go to the Credentials tab and click Add A New Credentials

-
For this step you will need to have your SoftLayer VPN username & API Key from your SoftLayer account.
- Title: add a name to your key pairs, the title is a name for your reference it can be any name you want make it something easy to remember your credentials with.
- VPN username: your SoftLayer username including prefix (ex: SL or IBM)
- API Key: your SoftLayer API KEY
When you are done please click Save This & Continue.

-
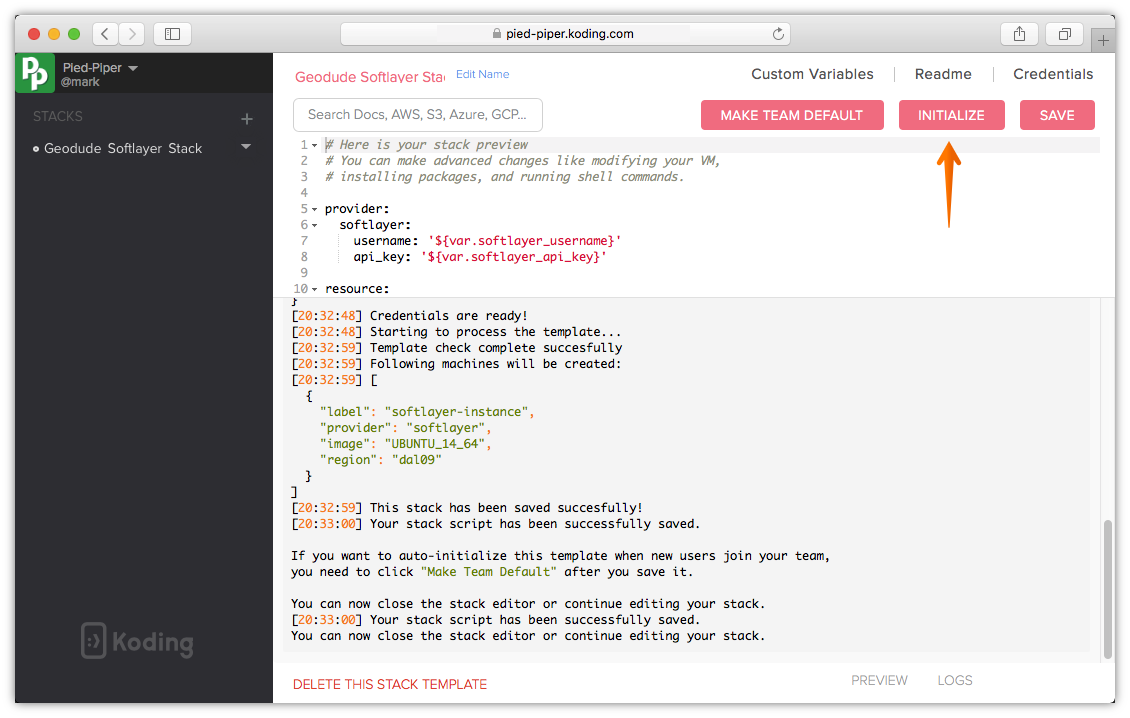
Your SoftLayer credentials will be verified and you will be directed back to the Stack Template editor. Also the red exclamation mark that used to appear beside your Credentials tab should disappear. Click SAVE to save your stack and test your stack template file, it should save successfully
-
Click Initialize to initialize your stack
You can have multiple stacks within a team, click Make Team Default when you want to make this stack your team’s default stack.
-
Now let’s start building our stack
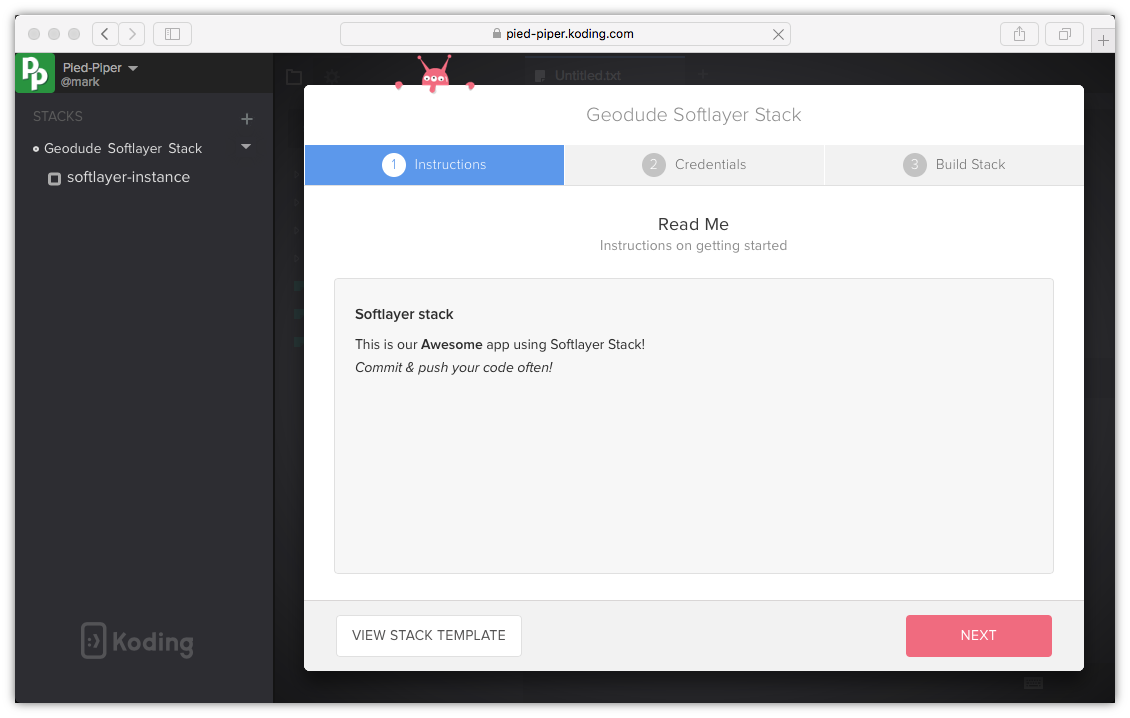
You will notice that the first page in the building stack window contains the message we wrote in our Read Me tab in our stack. This is the same message your team will see when they build their stack. It is a good practice to include information about your project or stack for your teammates.
Click Next
-
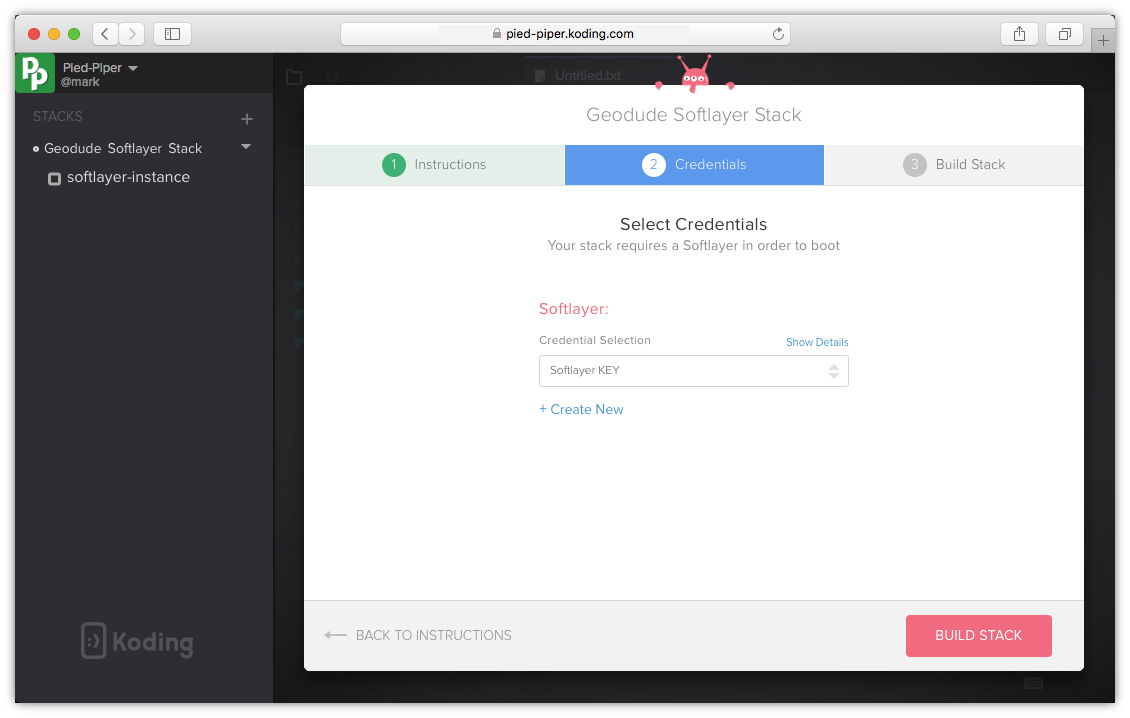
Make sure the correct credentials are selected (you can save multiple credentials) and click Build Stack
You can have multiple saved credentials to use within a team, the Credentials tab in your Build stack modal allows you to choose the one you want to use with this stack template.
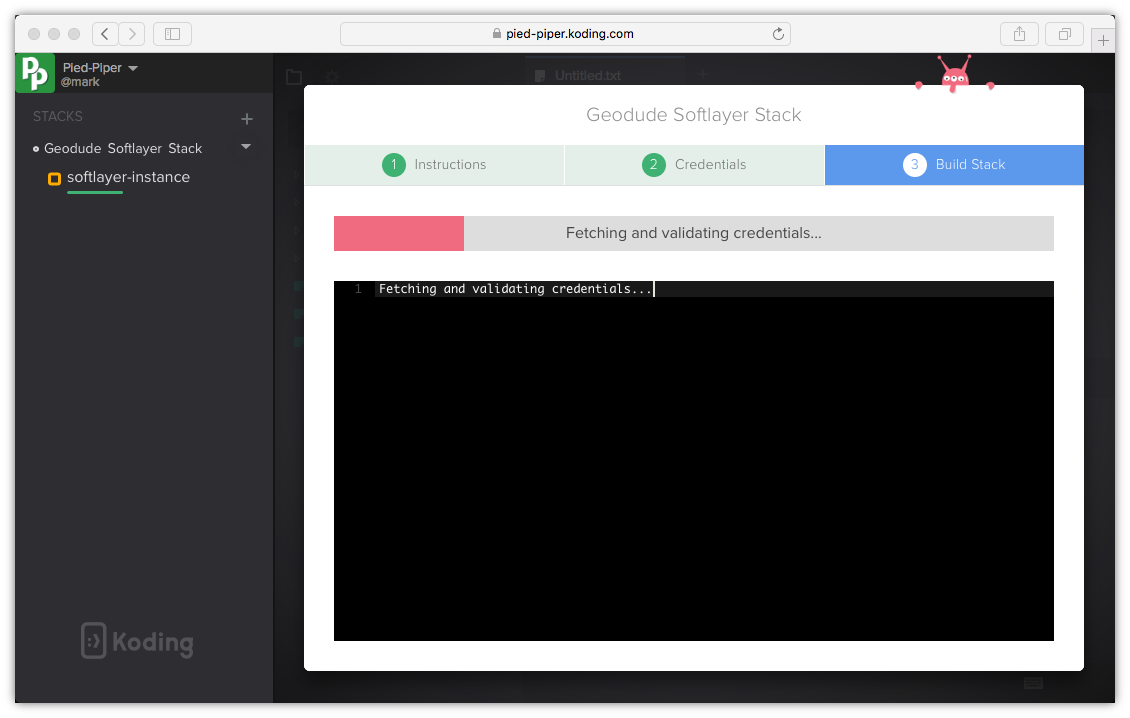
Your stack will start building..
-
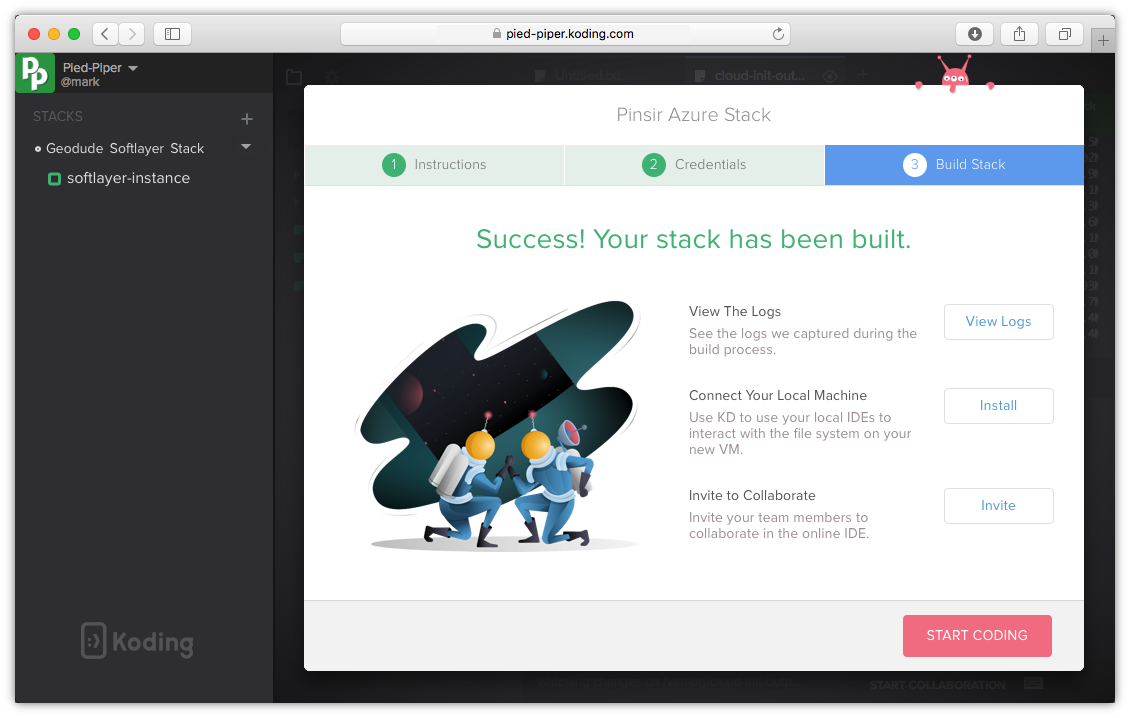
Your stack was successfully built. Click Start Coding to start using your new VM
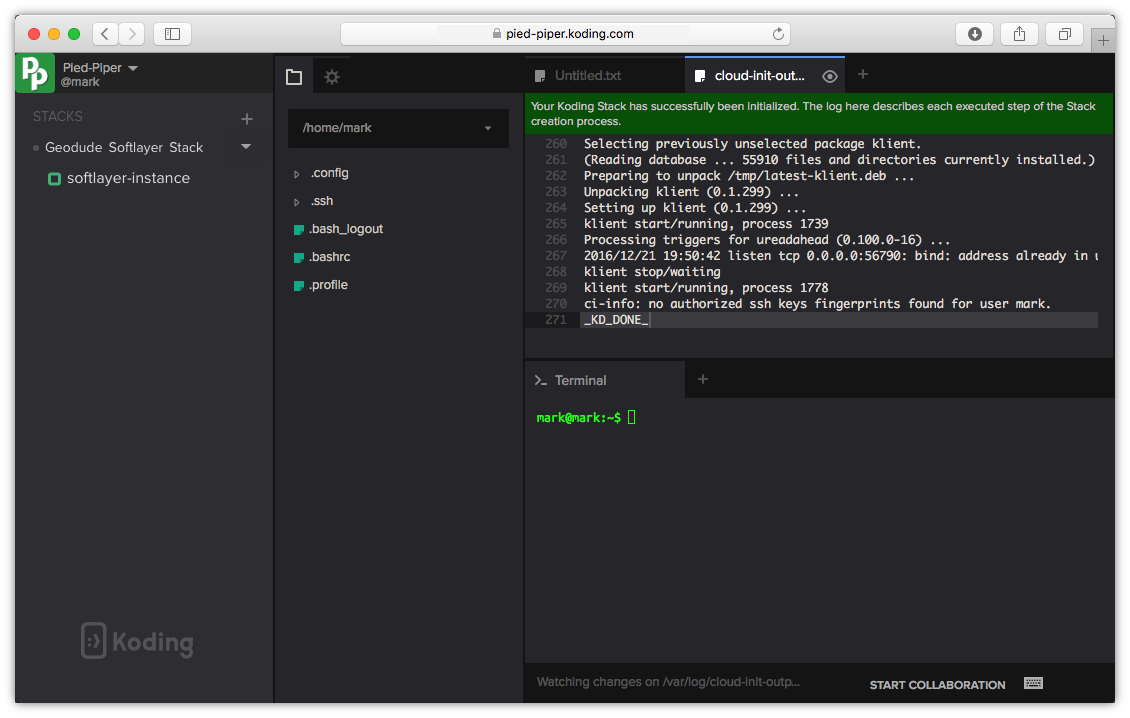
Congratulations, your new VM terminal is ready
See more options and information for creating a SoftLayer instance here SOFTLAYER_INSTANCE.