Create a Google Compute Engine stack
Introduction
This guide will help you build Google Compute Engine stack. Google Cloud offers many services, one of which is Google Compute Engine which delivers virtual machines running in Google’s data centers and worldwide fiber network.
You can configure the number of VMs and applications installed on each VM instance. Along with configuring VM size and region. Your new team members will be able to use your stack to build their VMs environment and start working from day one.
You will need to have a Google Cloud account to be able to create VMs on Google Data Center. This will require you to provide your credit card information. You can sign up for a 60 day free trial and $300 in credit. Learn more about Google Compute Engine pricing.
Step by step guide
-
Click ‘+’ sign to Create a New Stack

-
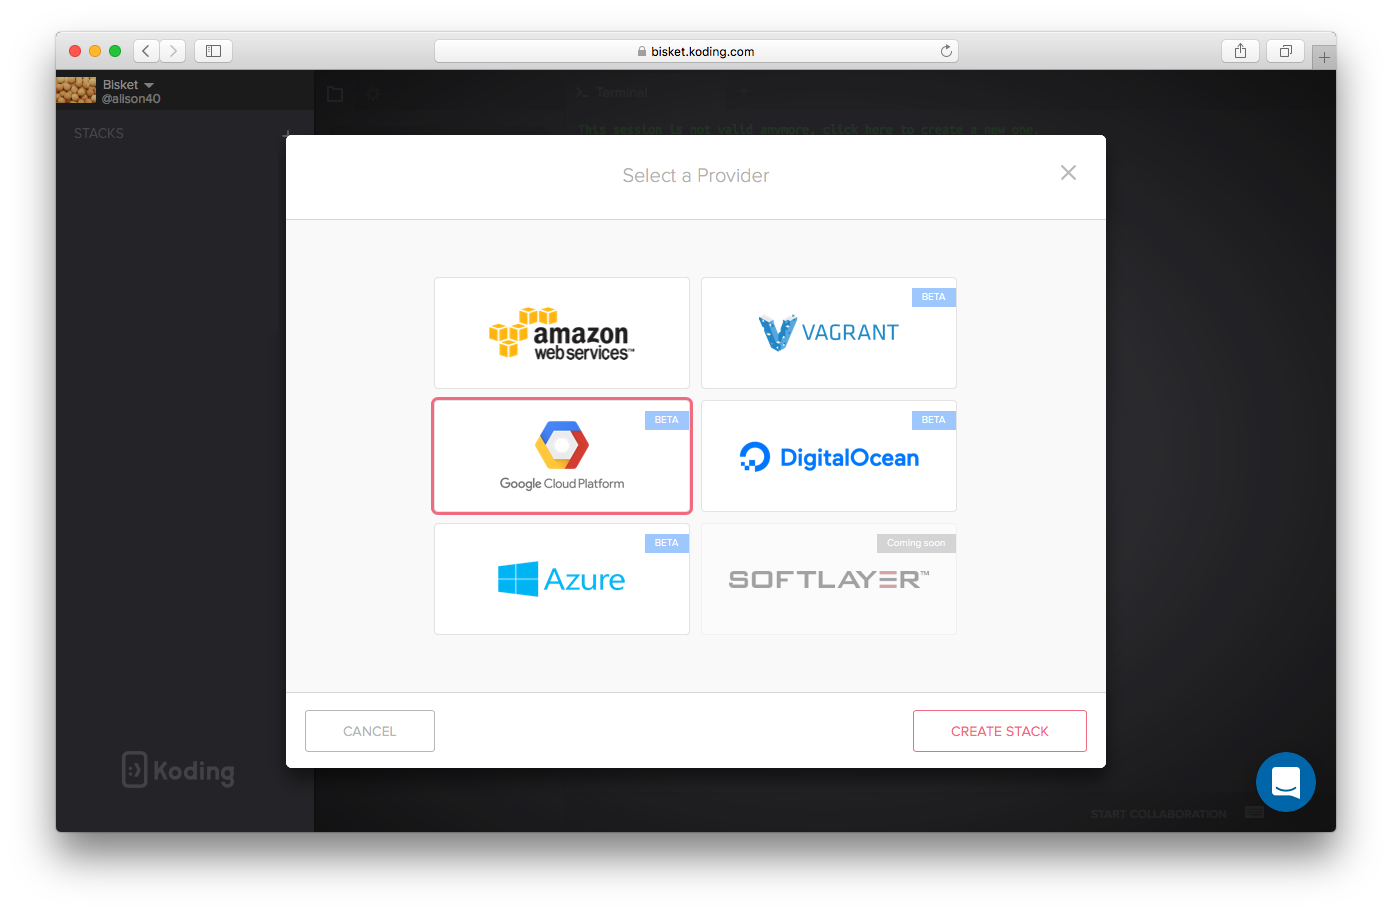
Choose Google Cloud Platform and click Create Stack
-
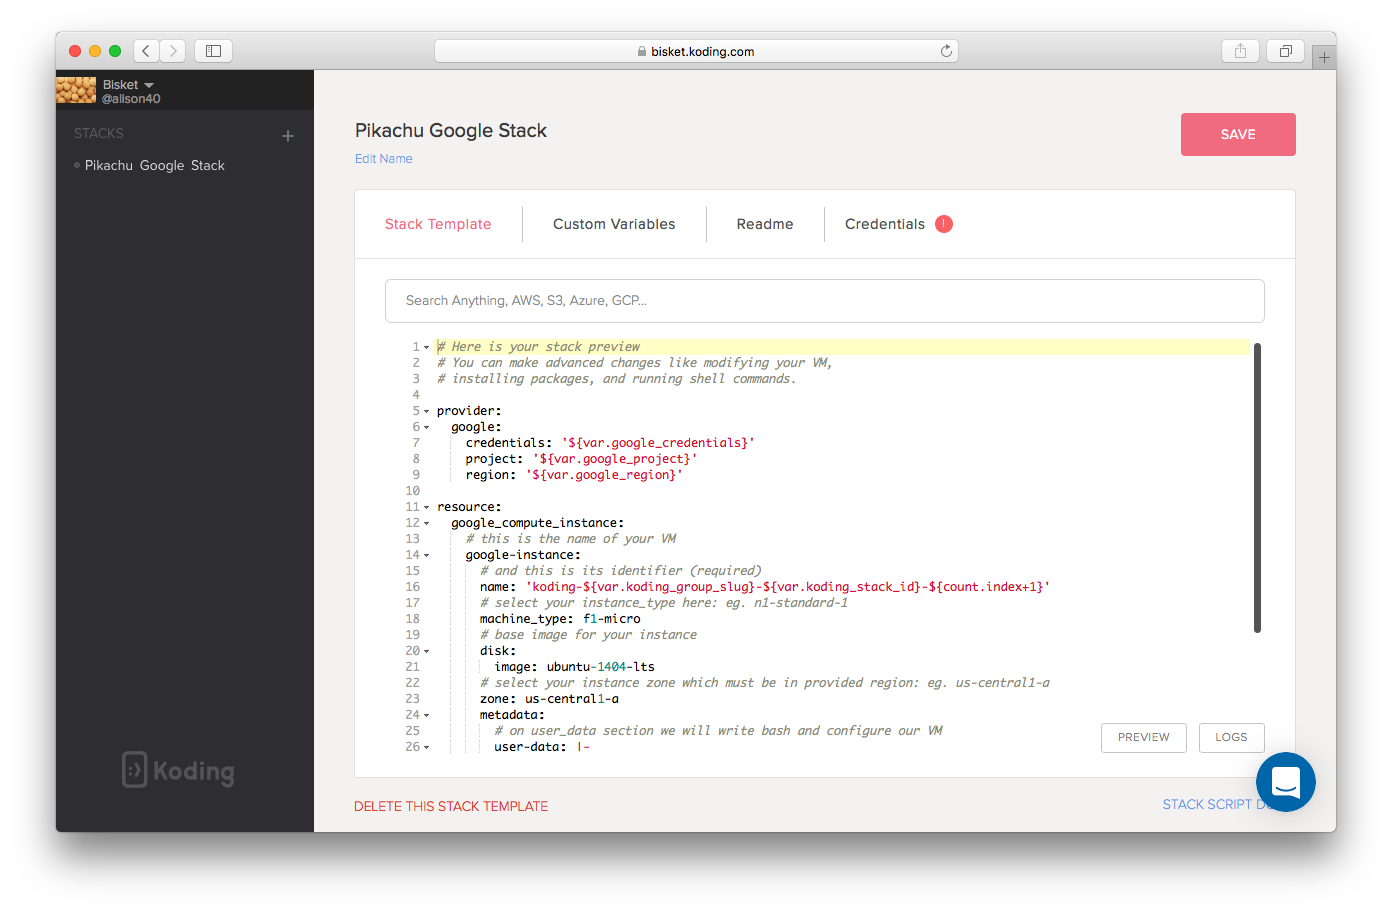
Your default Google Cloud Platform stack is now created (If you wish you can give your stack a name by clicking on Edit Name below your stack name). In this modal you will find four tabs:
- Stack template: This is your stack template
- Custom variables: to define custom variables which you can use within your stack template, values there are hidden from the non-admin team members
- Readme: This will be the text displayed in a message box when your team builds the stack
- Credentials: add your Google Cloud Platform credentials here
-
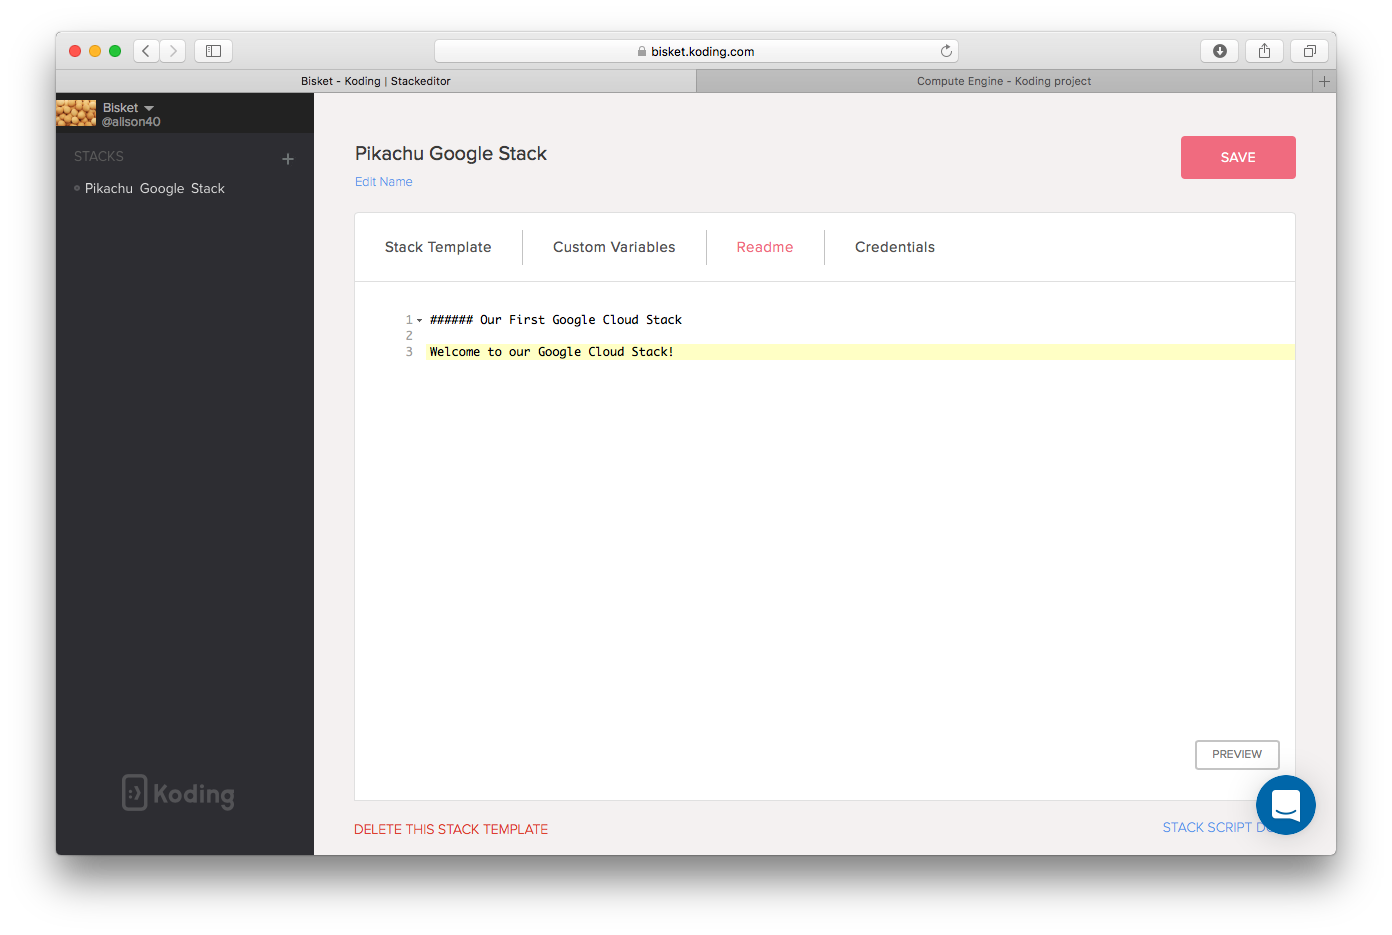
Edit your Readme file to greet your team and provide them with information regarding your project or stack
-
Setting up your Google Cloud Account. You need to add your Google Cloud Platform account credentials to the credentials tab. To do that, login to your Google Cloud Platform account, and follow the below steps:
-
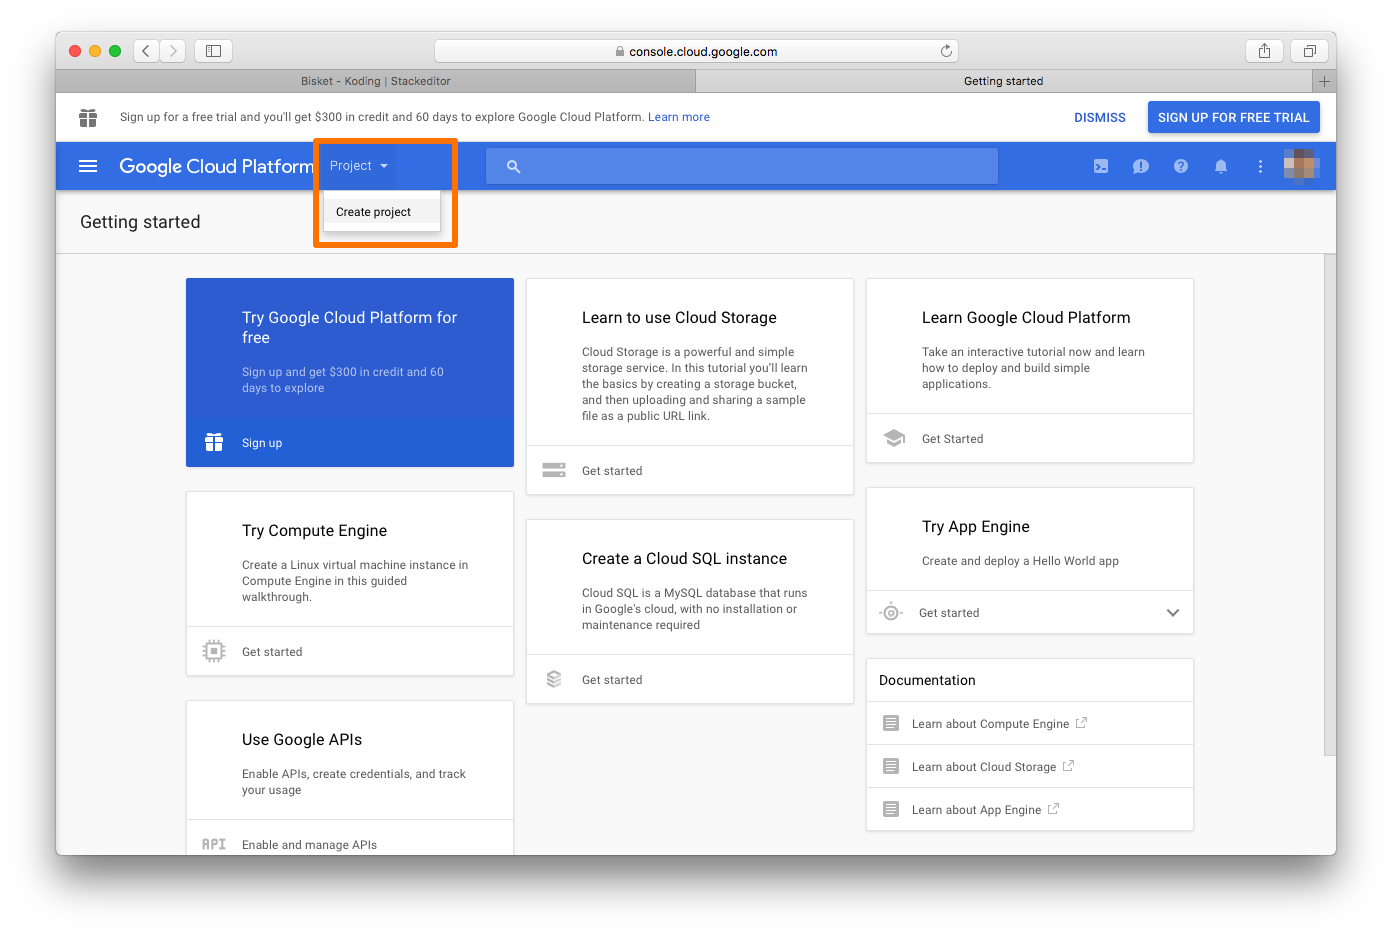
Create a new project:
-
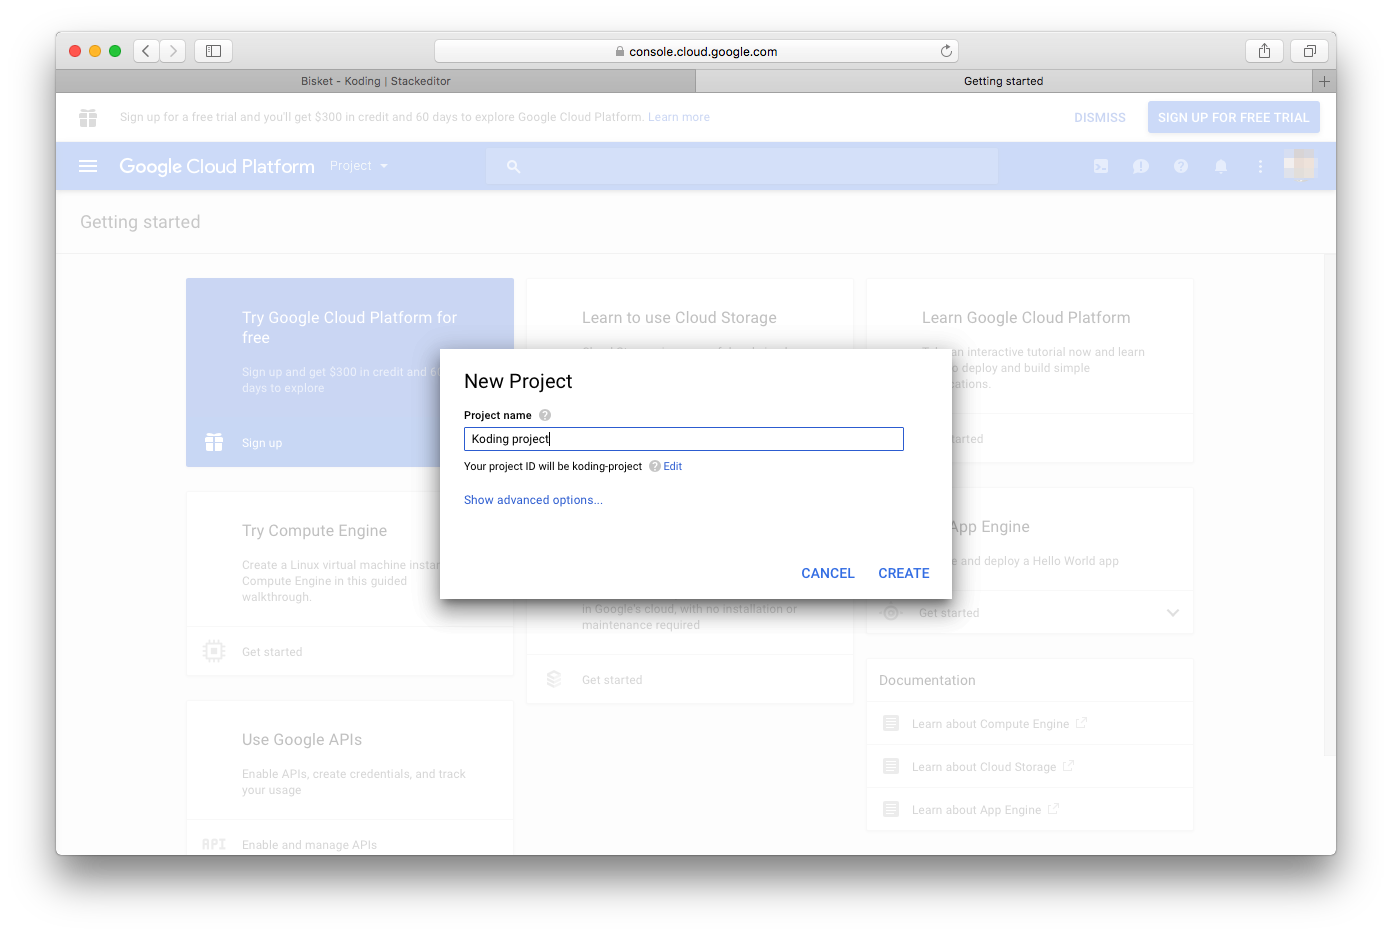
Give your new Google Cloud project a name:
-
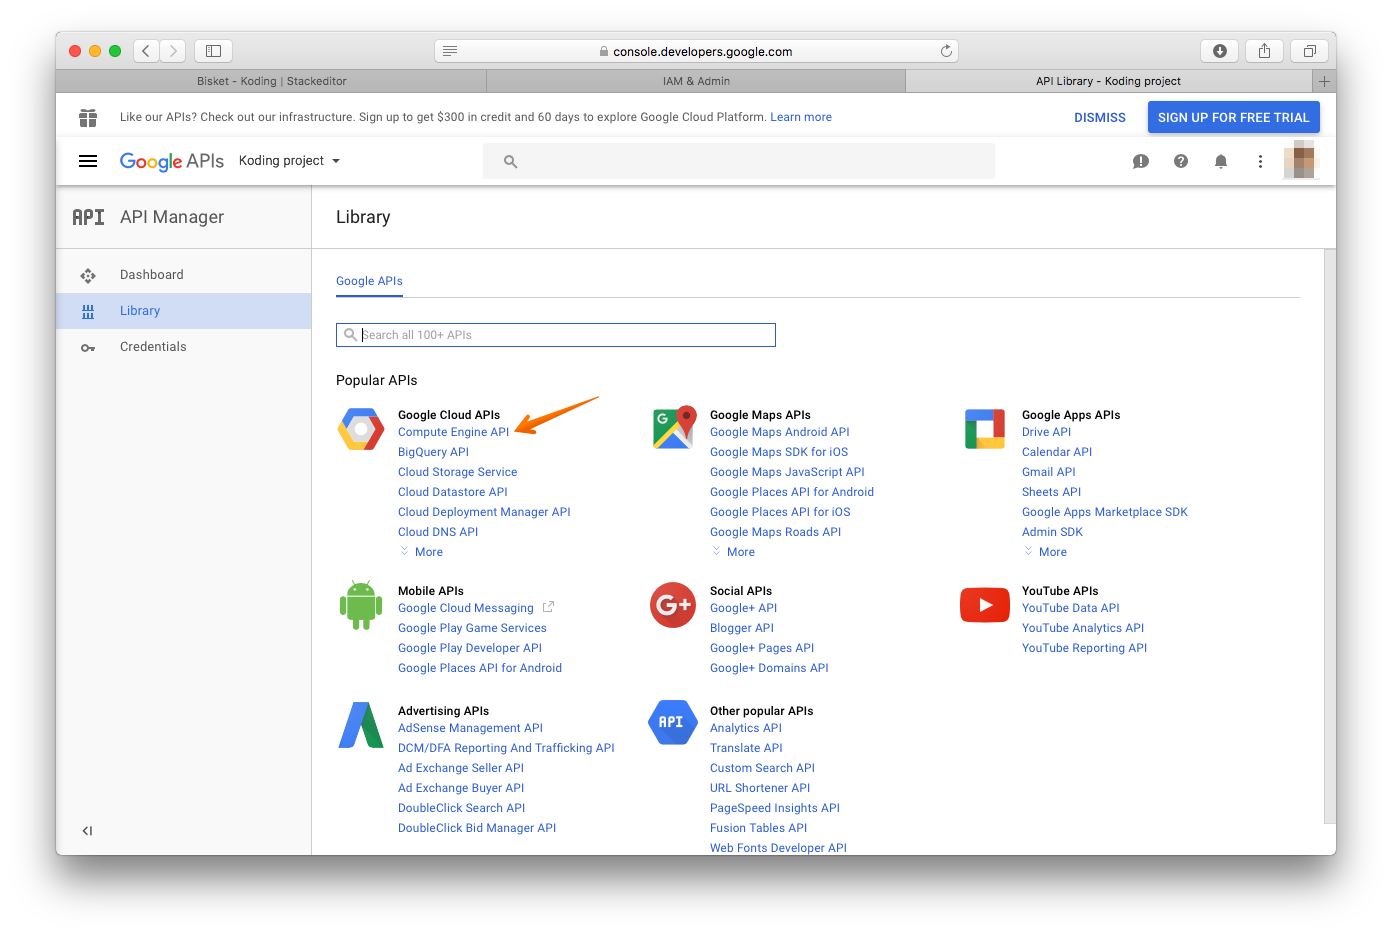
Once created, go to your project Dashboard, and click Enable and manage APIs.
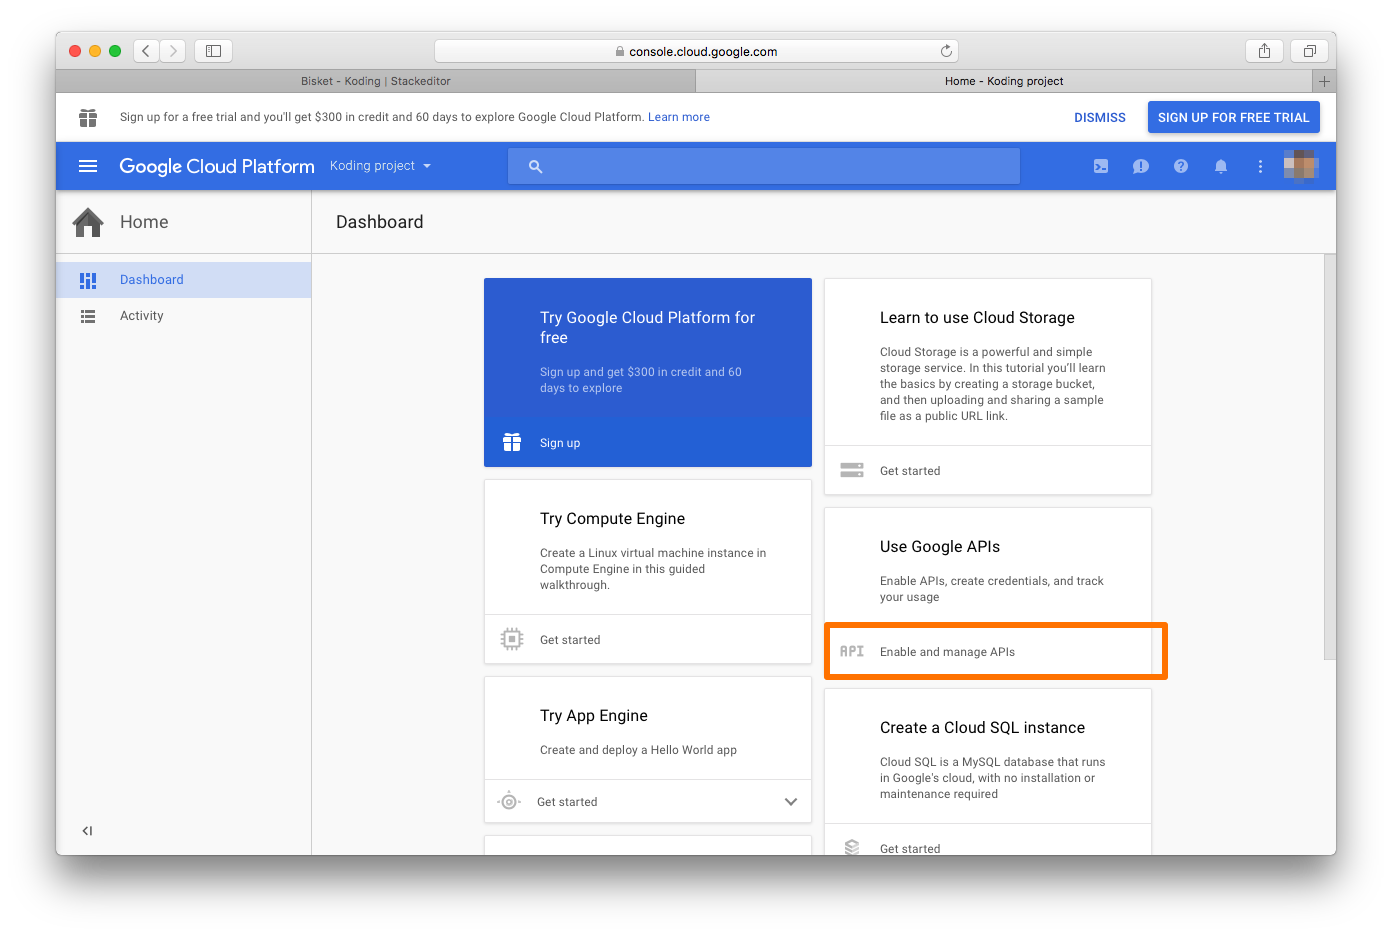
We need to enable Google Compute Engine API to allow Koding to create VMs on your Compute Engine account.
-
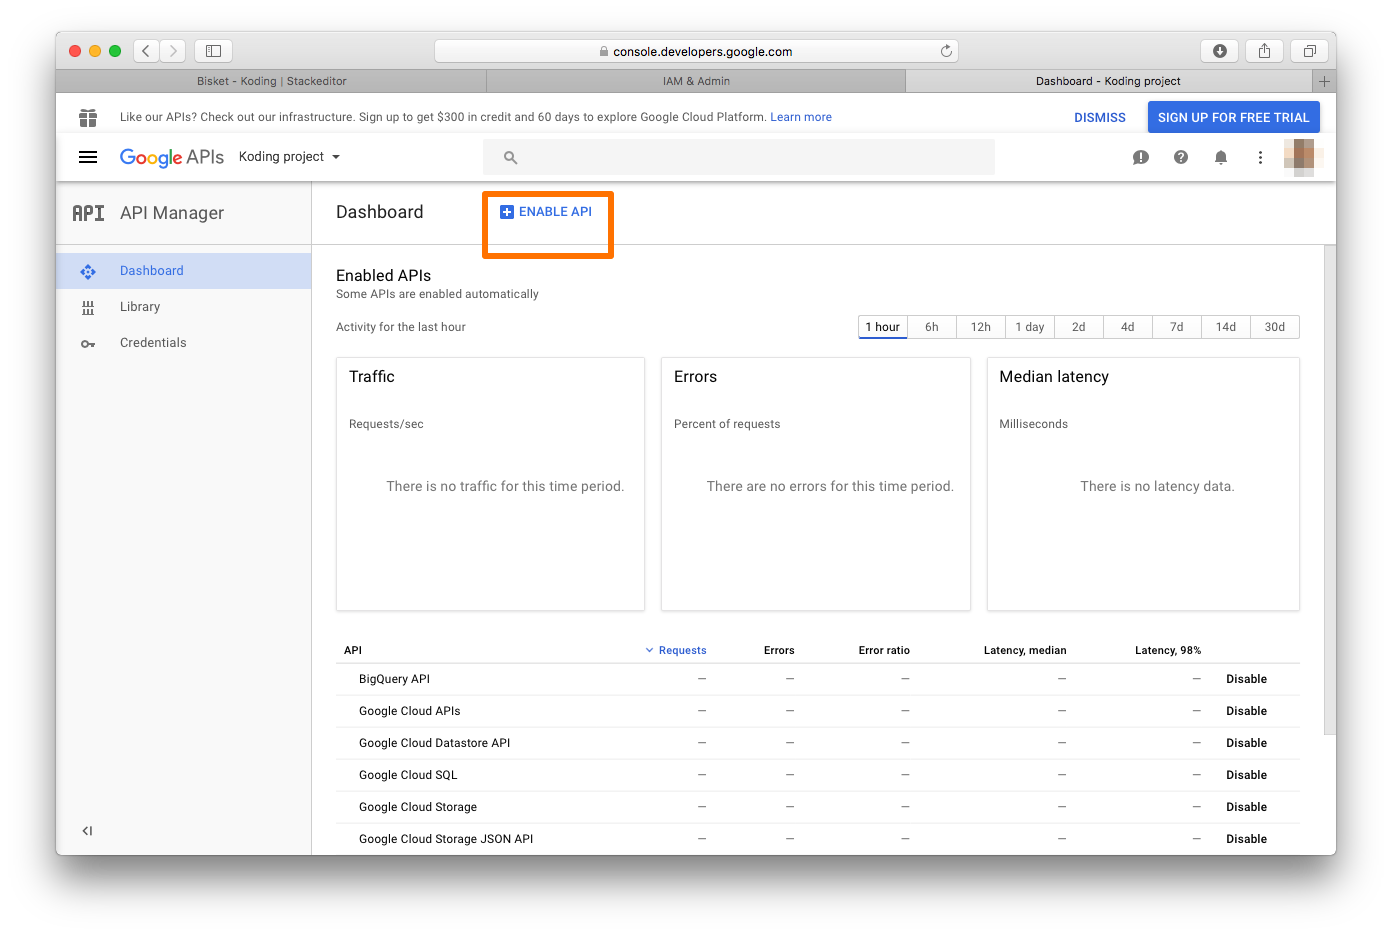
Click Enable API
-
Click Compute Engine API
-
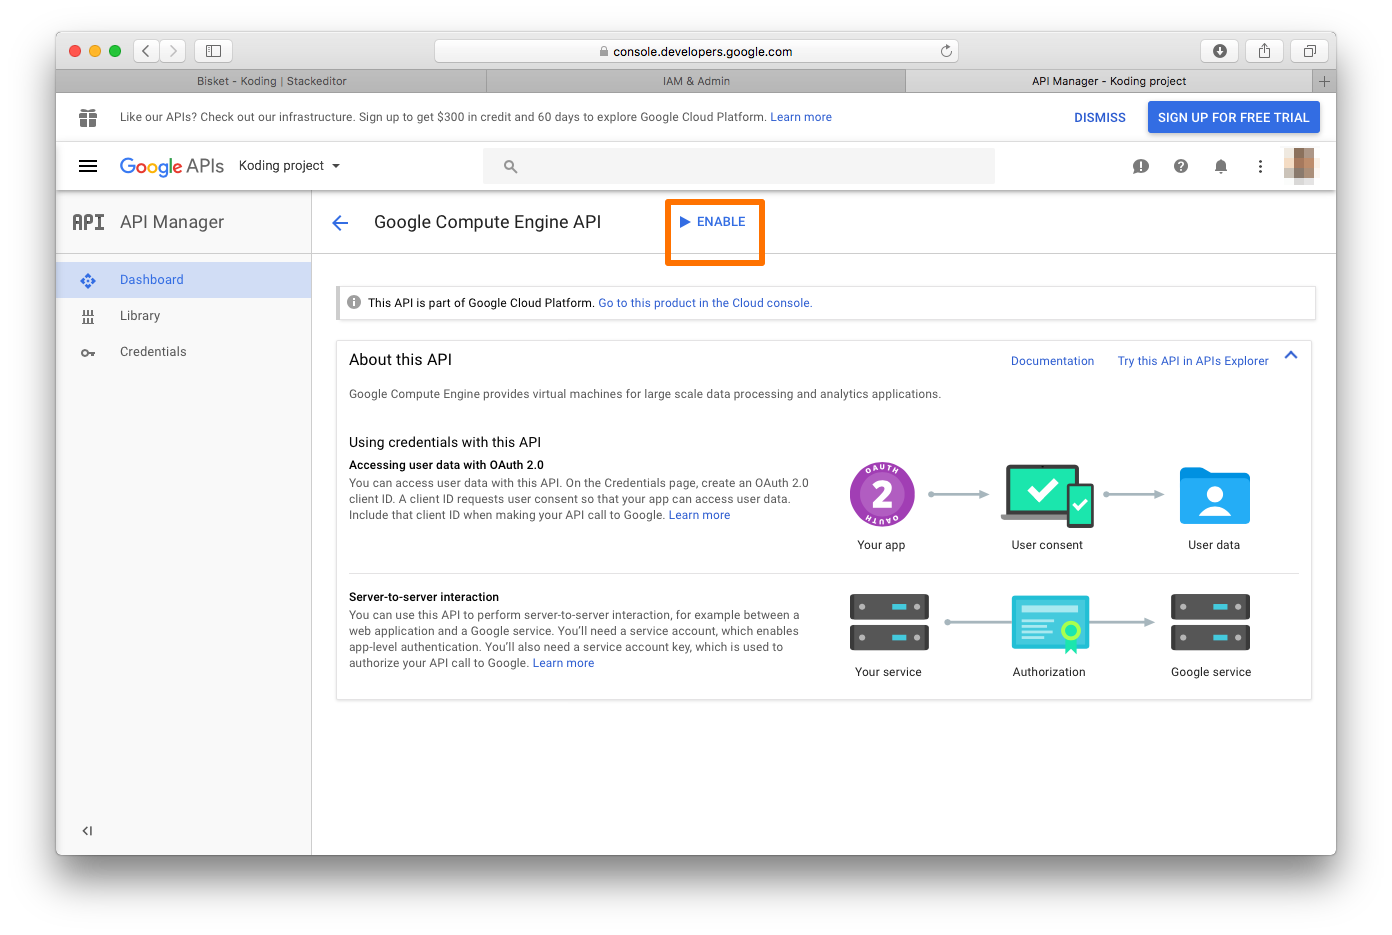
Click Enable to enable Compute Engine API
-
If your project doesn’t have Billing Enabled, you will be prompted to enable billing, click Enable Billing and follow the process to add your credit card information.
You will not be billed if you signed up for a free trial. Your credit card information is used to confirm your identity. You should be notified when your Google Cloud trial period ends. Learn more about Google Compute Engine pricing.

Google Cloud applies resources quotas based on your usage, you may need to request quota increase, for both global and regional limit. See more information here
-
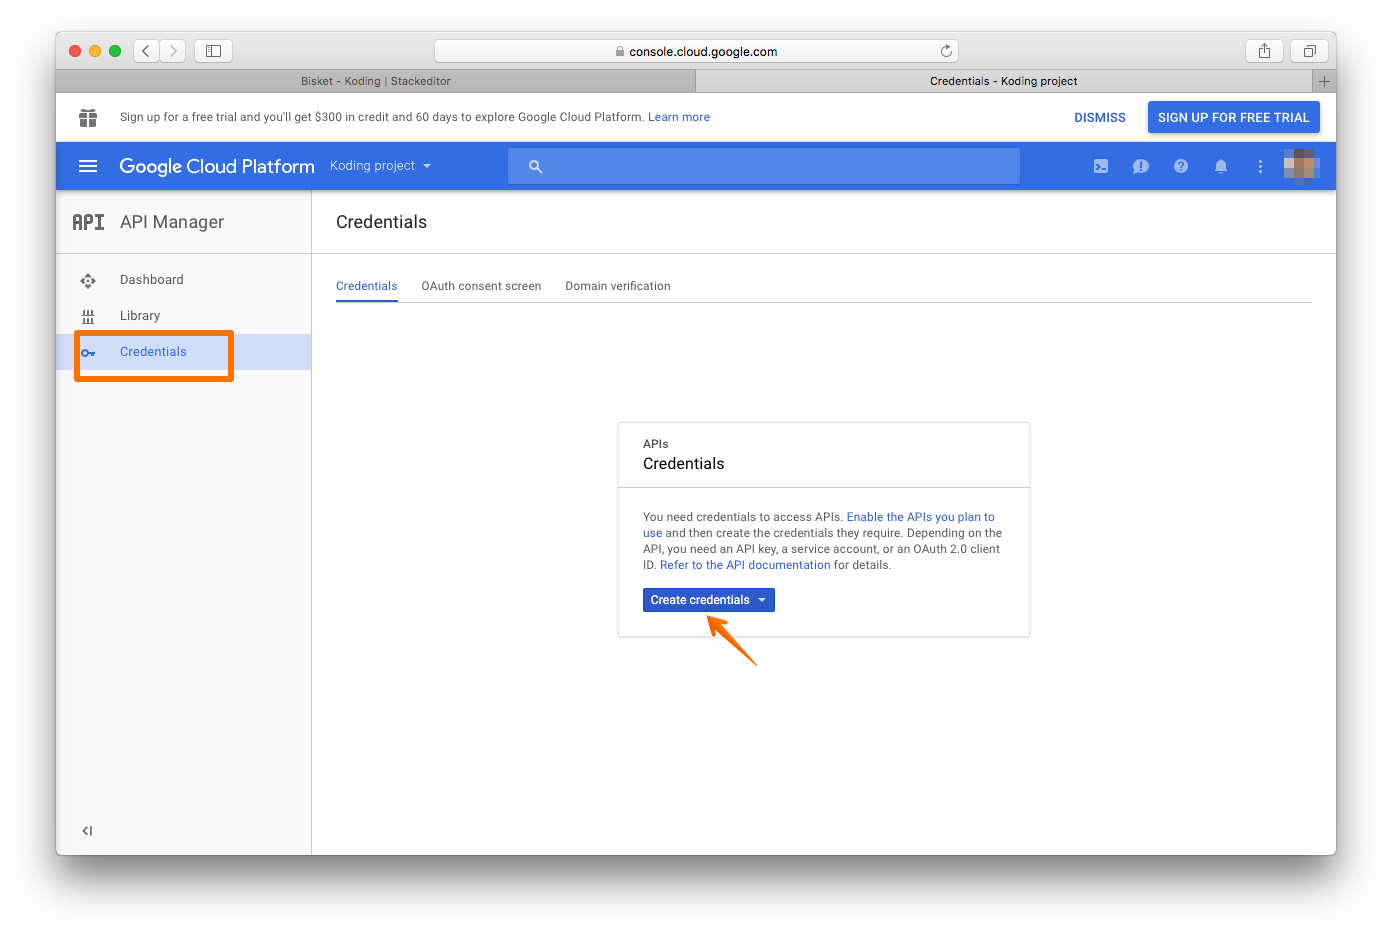
Once you are done with adding your billing information, go to your project Credentials menu and click Create credentials
-
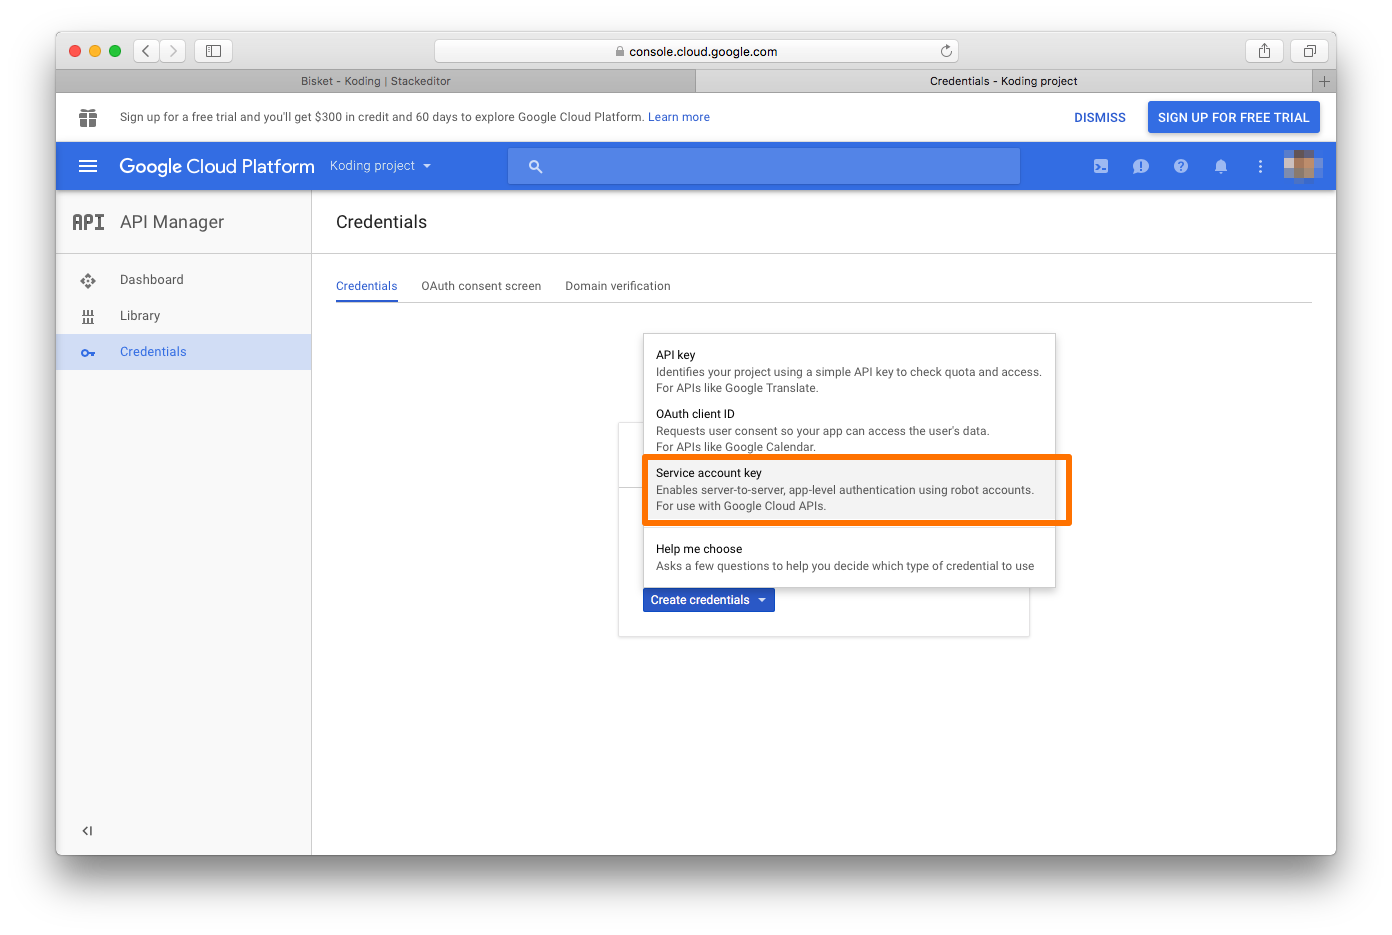
Choose Service Account Key
-
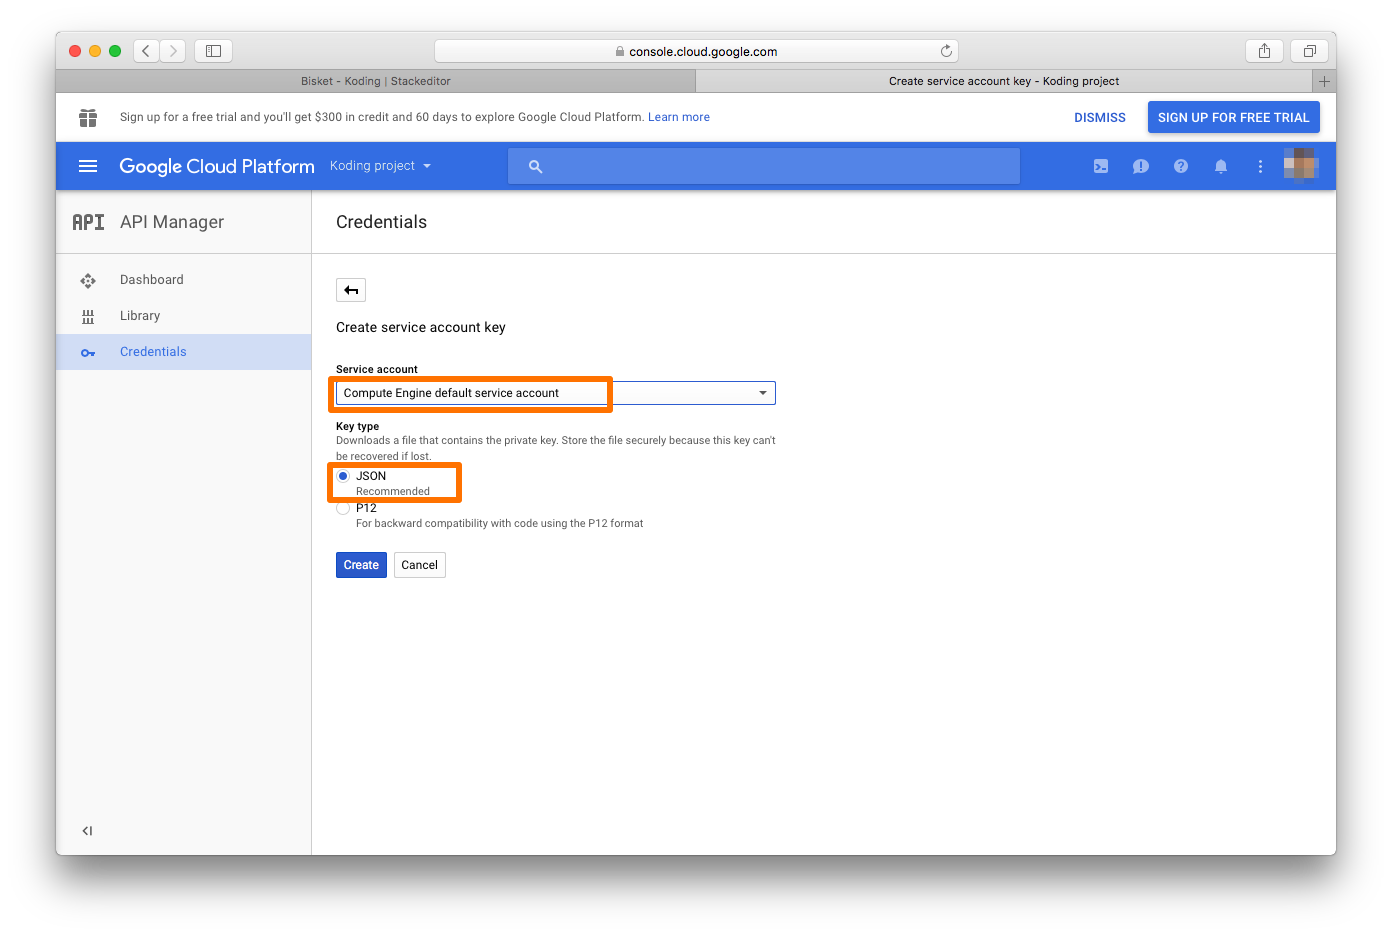
Choose Compute Engine default service account from the drop down menu and choose JSON option. Click Create
-
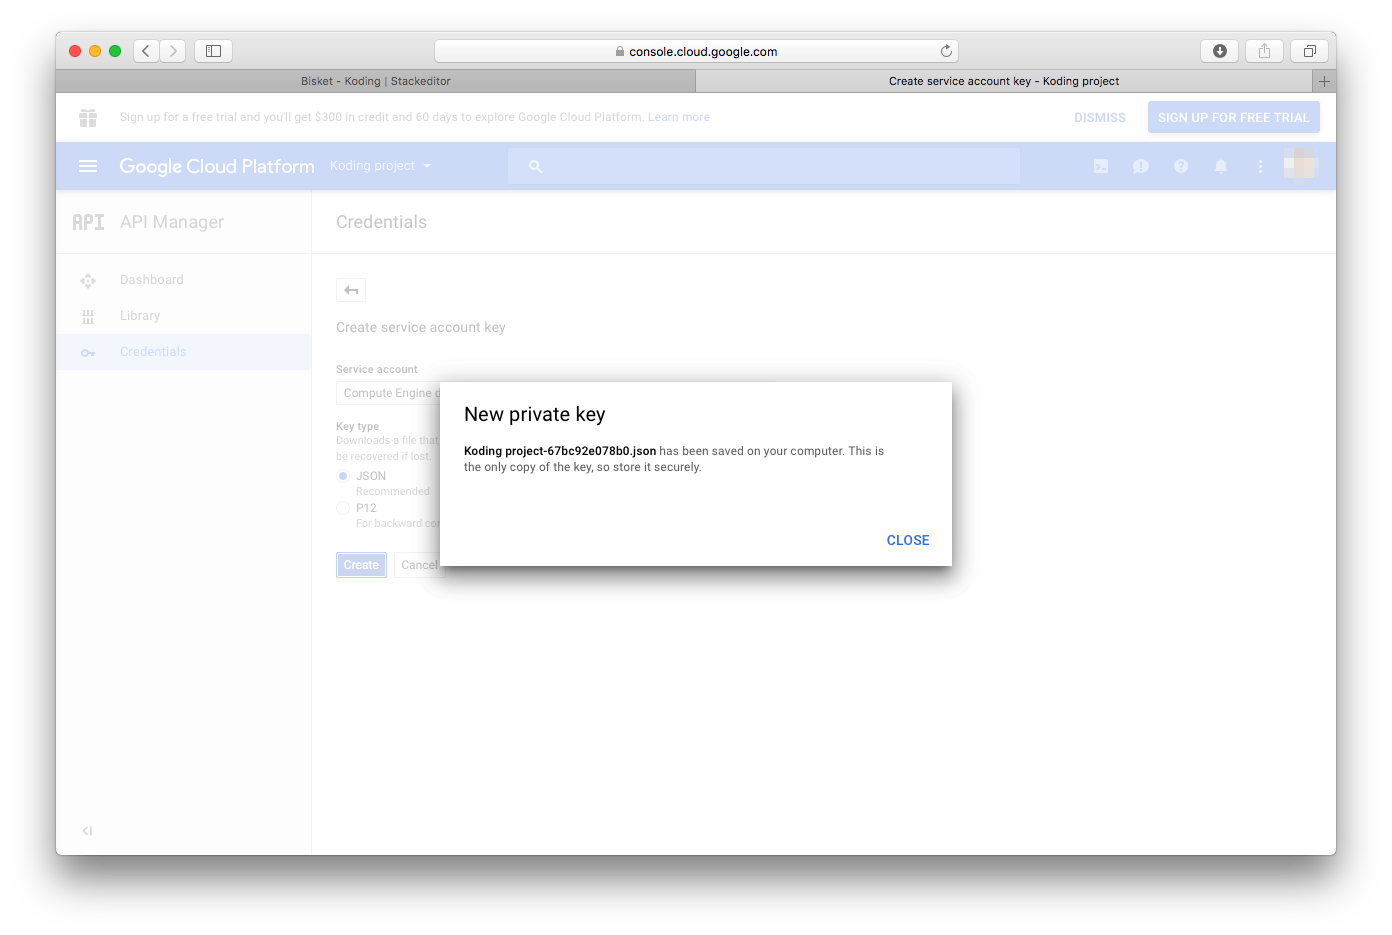
Your credential JSON file will be downloaded to your computer. You will use the contents of this file in your GCE Stack credentials tab. Make sure you know where it is located on your computer.
-
-
Now that you have your Google Cloud credentials ready, let’s add them to Koding credentials tab. Open your Stack Credentials tab on Koding and add your credentials information:
- Title: Give your credentials a name
- Project ID: Every project on GCE has a unique ID. Add your project’s ID here. Here is a direct link to find your project ID
- Service account JSON key: copy & paste the contents of the credentials JSON file you downloaded earlier from your GCE account
- Region: choose the region you want to create your VM in
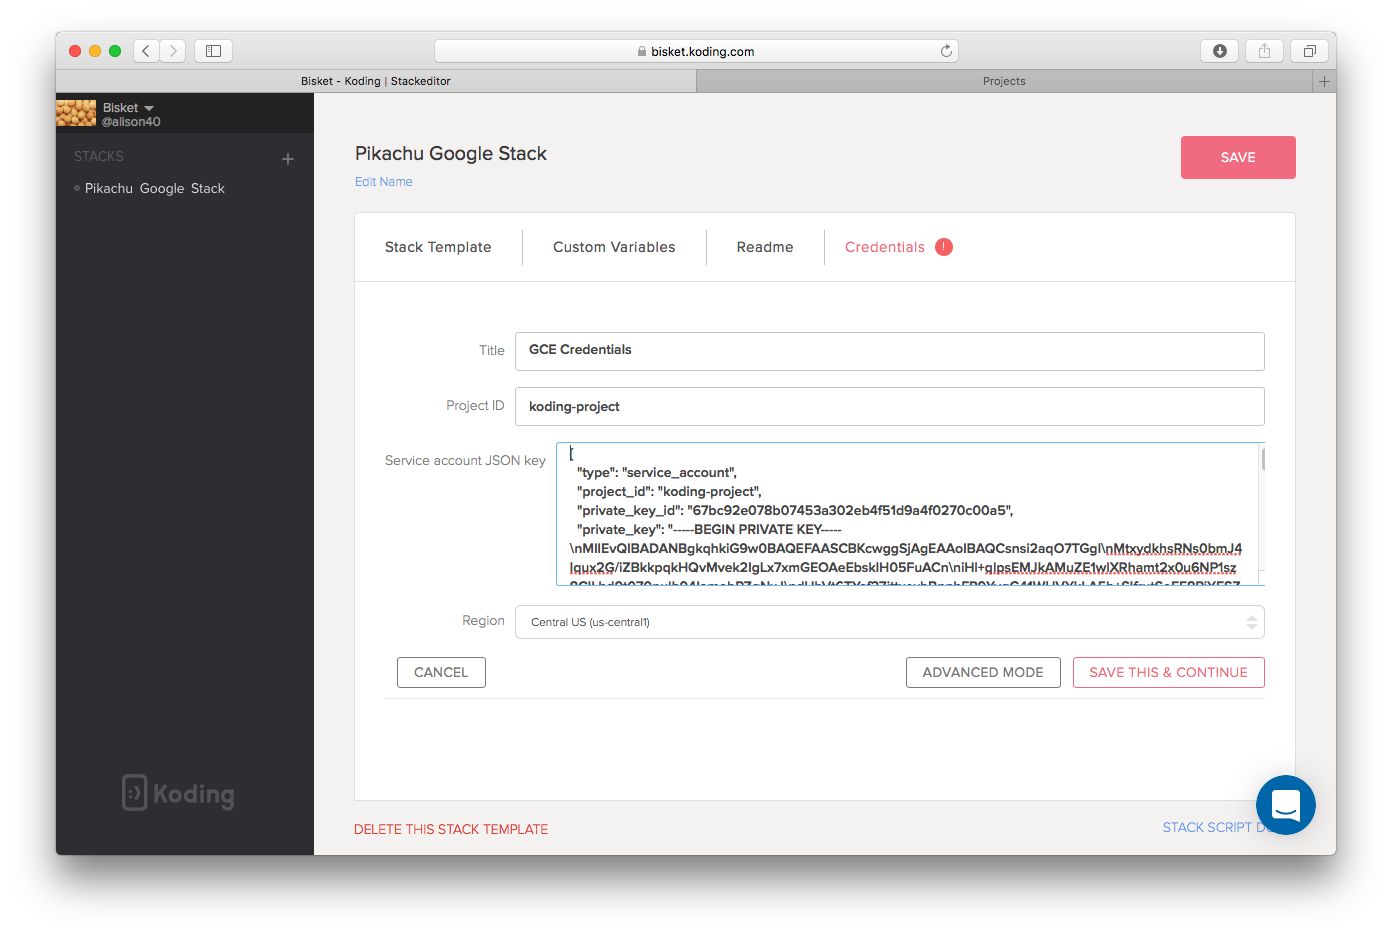
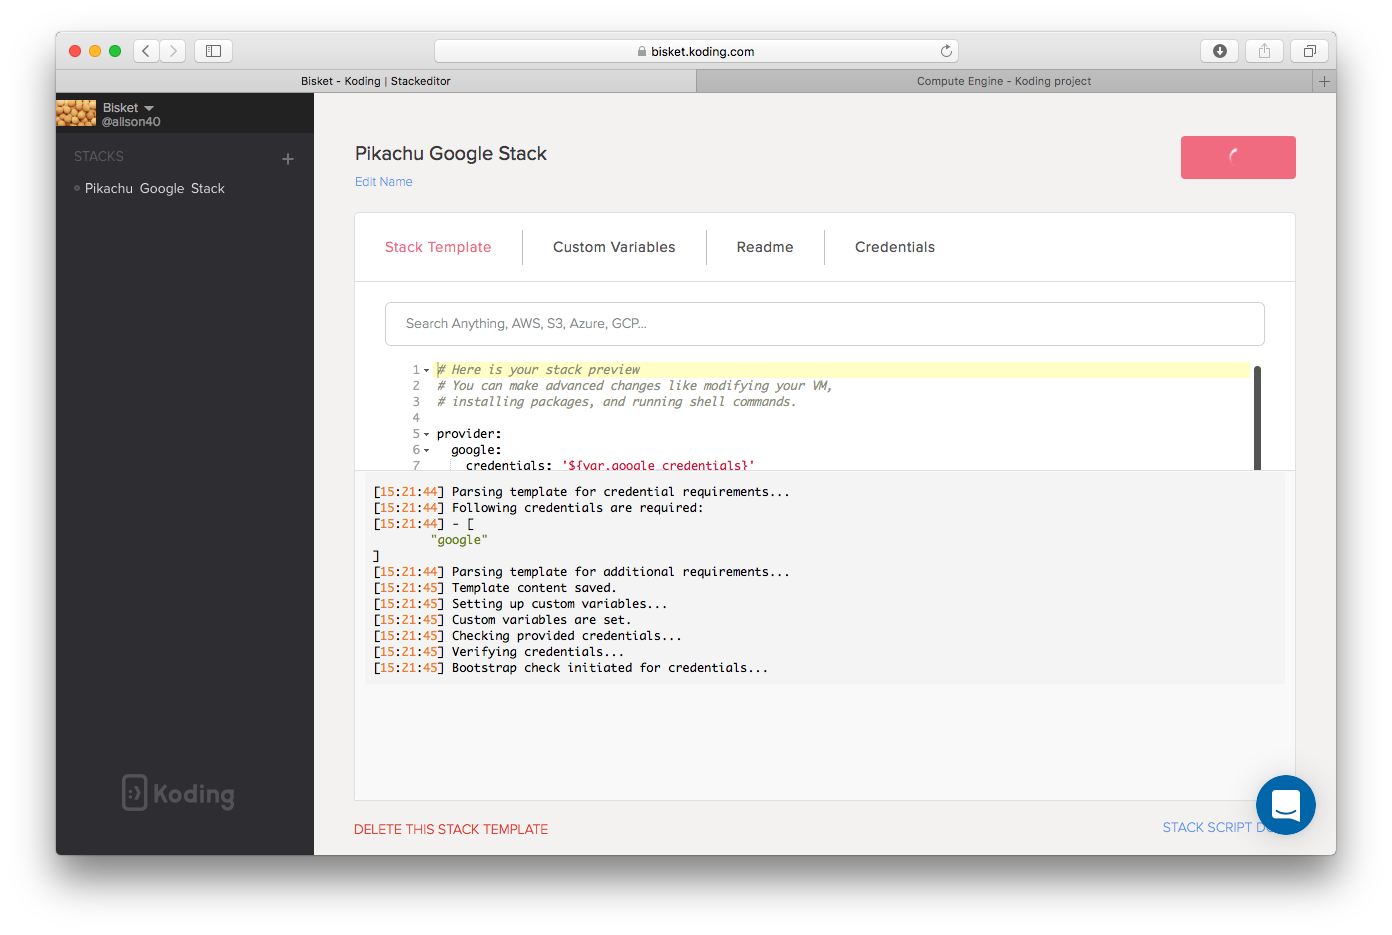
Once you are done click Save this & continue to verify your credentials
-
Once your credentials are saved & verified you will be directed back to your Stack template. Click Save on the top right
-
Click Initialize to start your stack
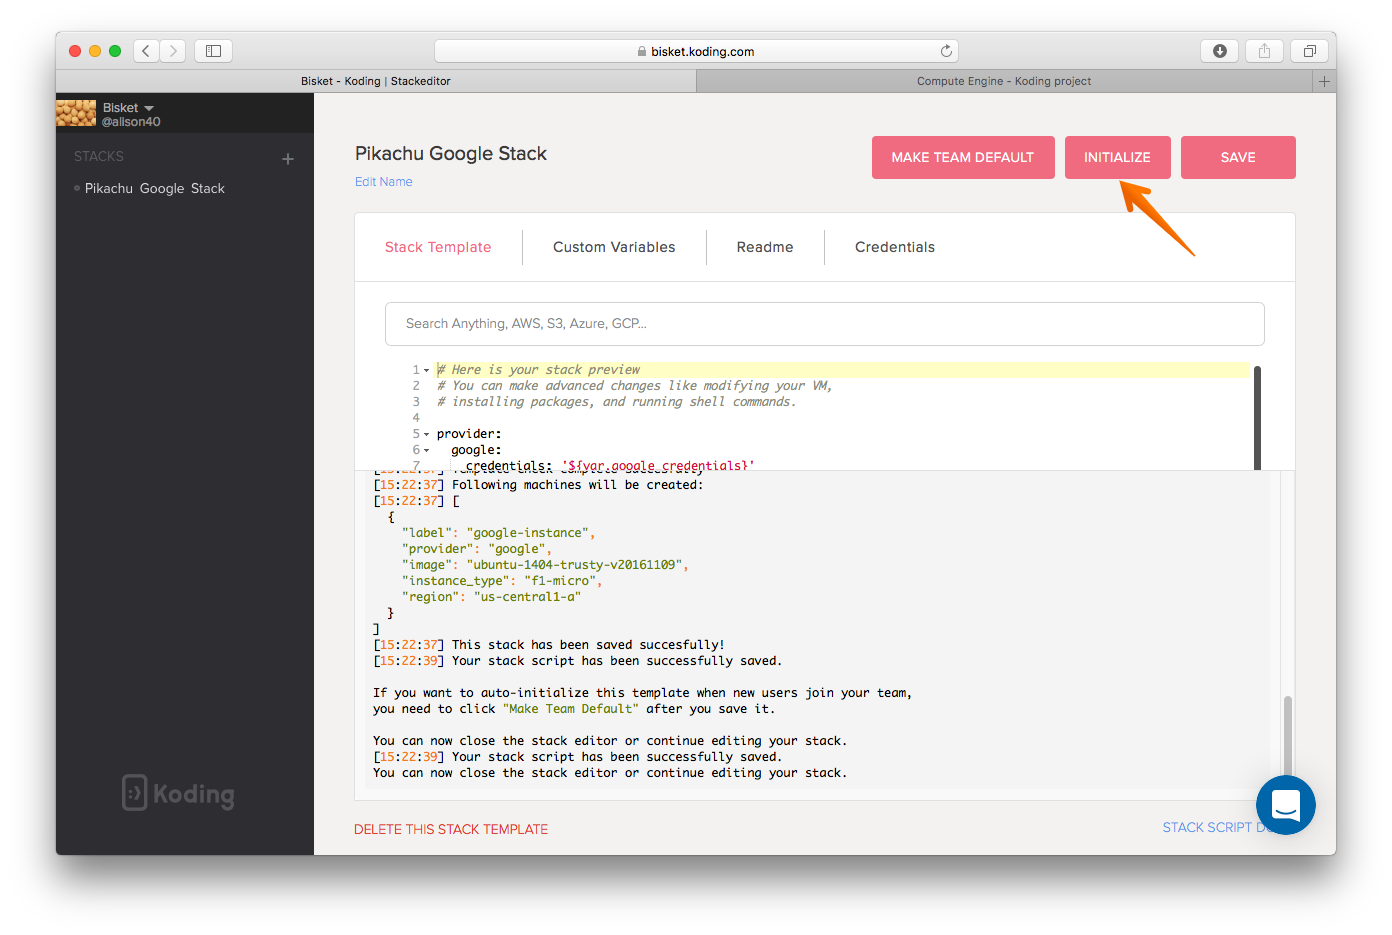
-
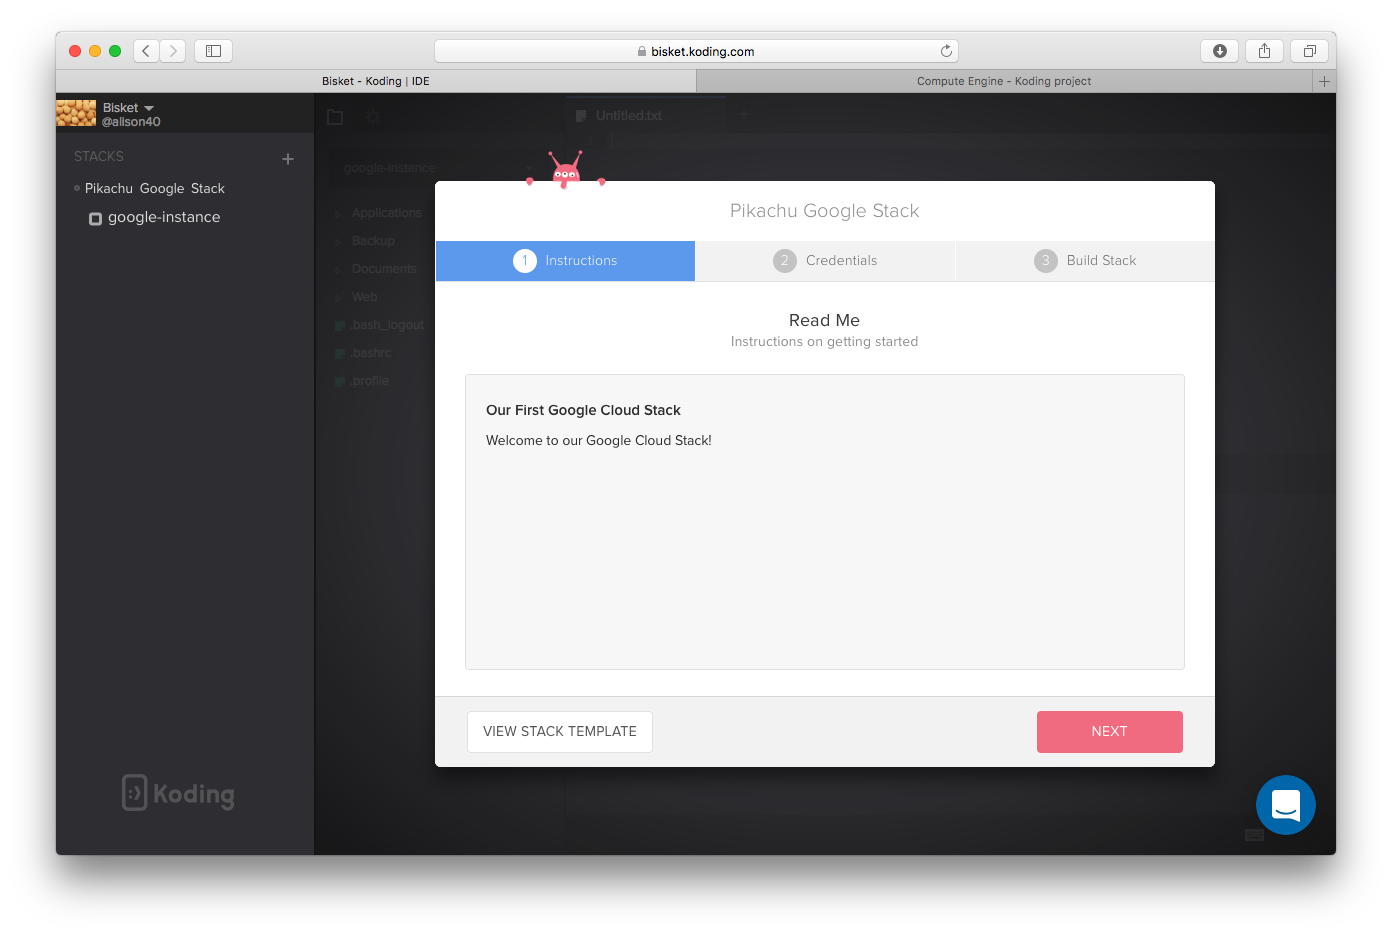
Now let’s start building our stack
You will notice that the first page in the building stack window contains the message we wrote in our Read Me tab in our stack. This is the same message your team will see when they build their stack. It is a good practice to include information about your project or stack for your teammates.
Click Next
-
Make sure the correct credentials are selected (you can save multiple credentials) and click Build Stack
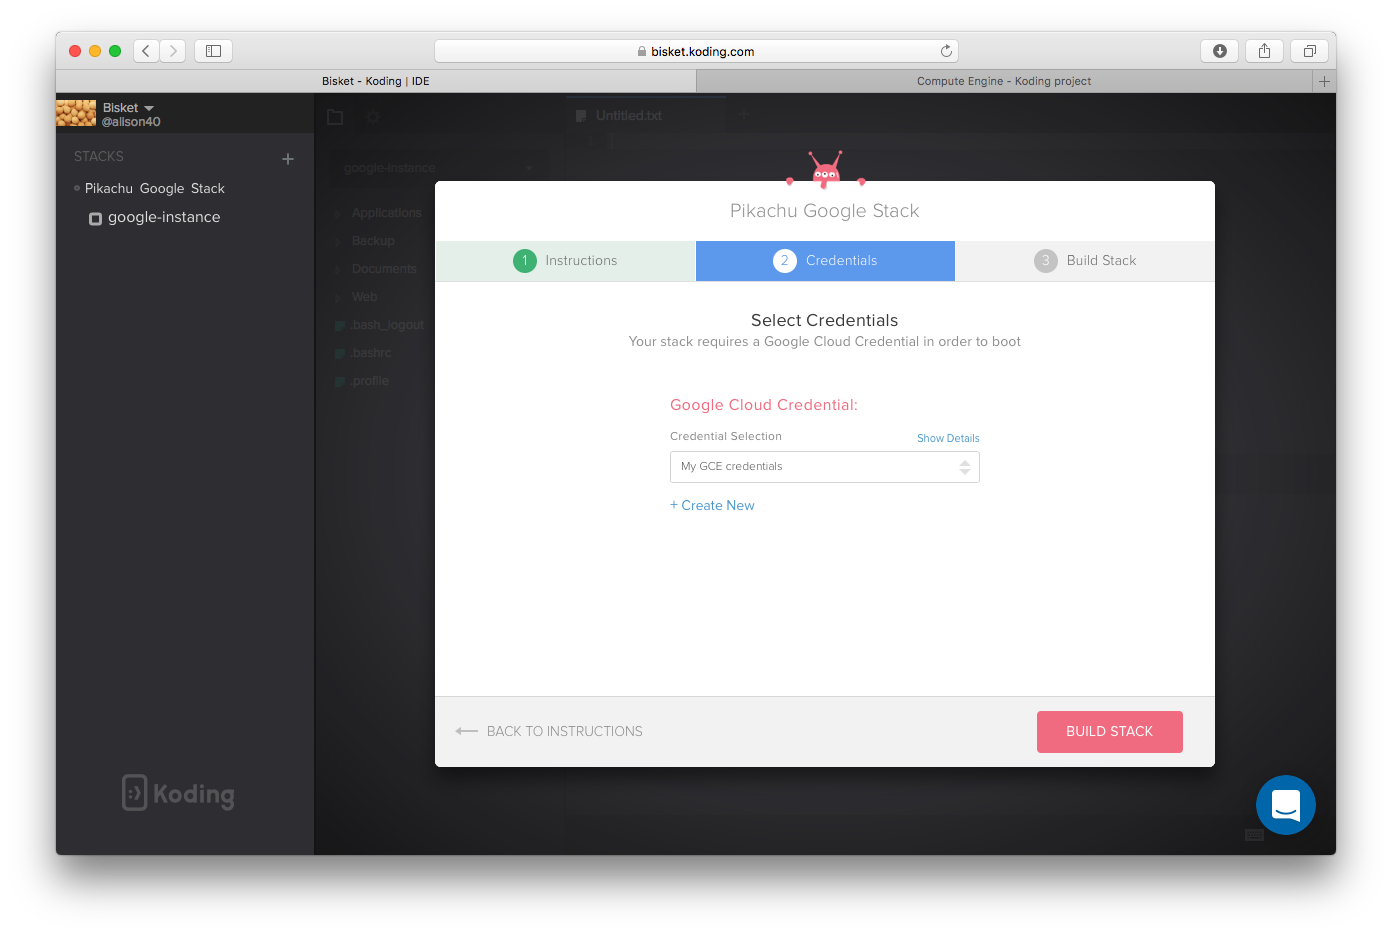
Your stack will start building..
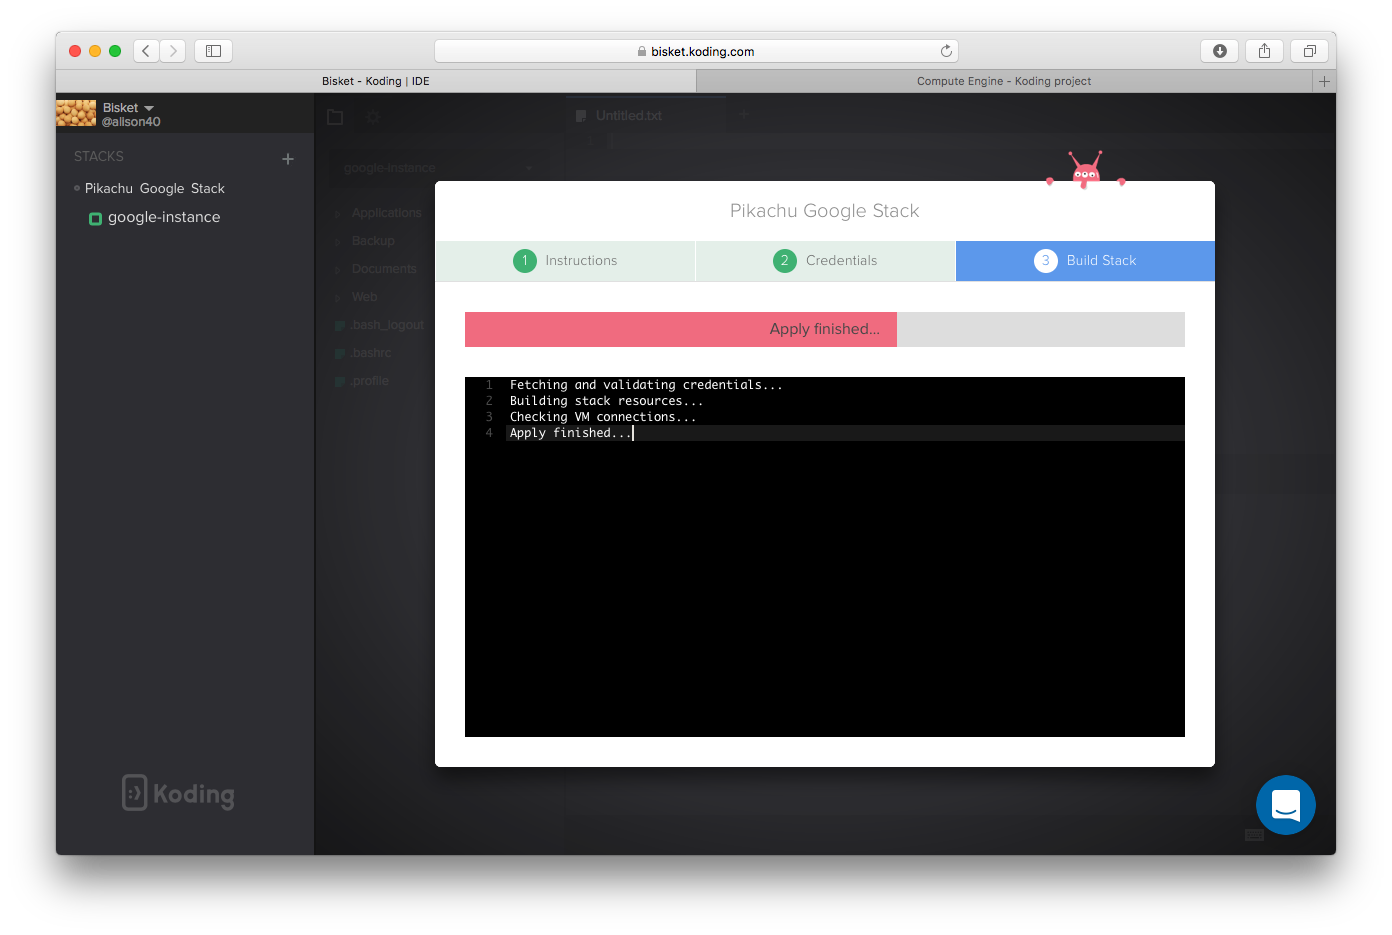
-
Congratulations, your stack was built successfully, click Start Coding
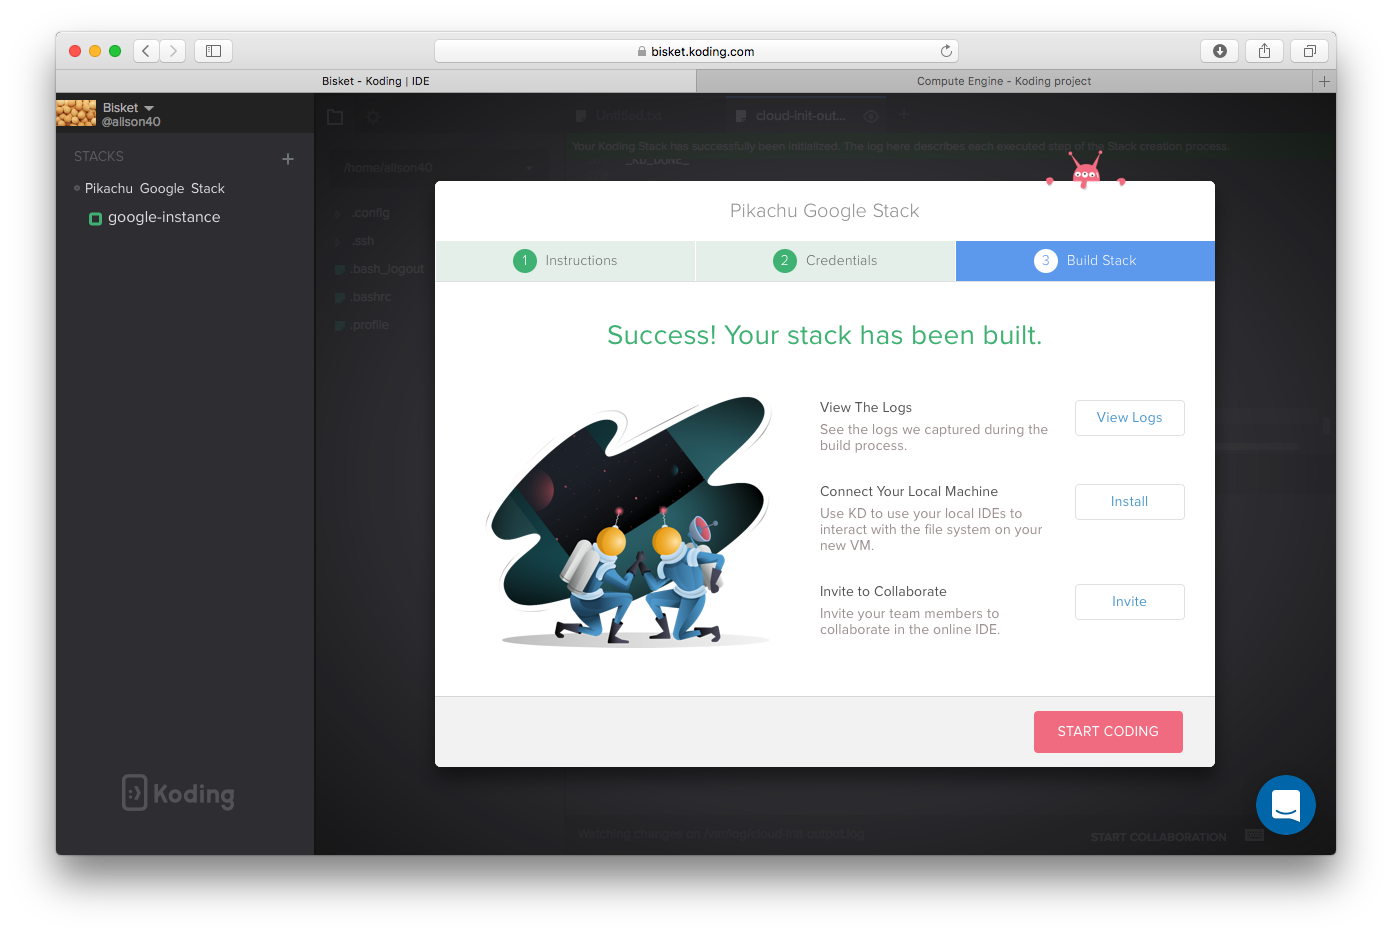
You can now start working on your new VM
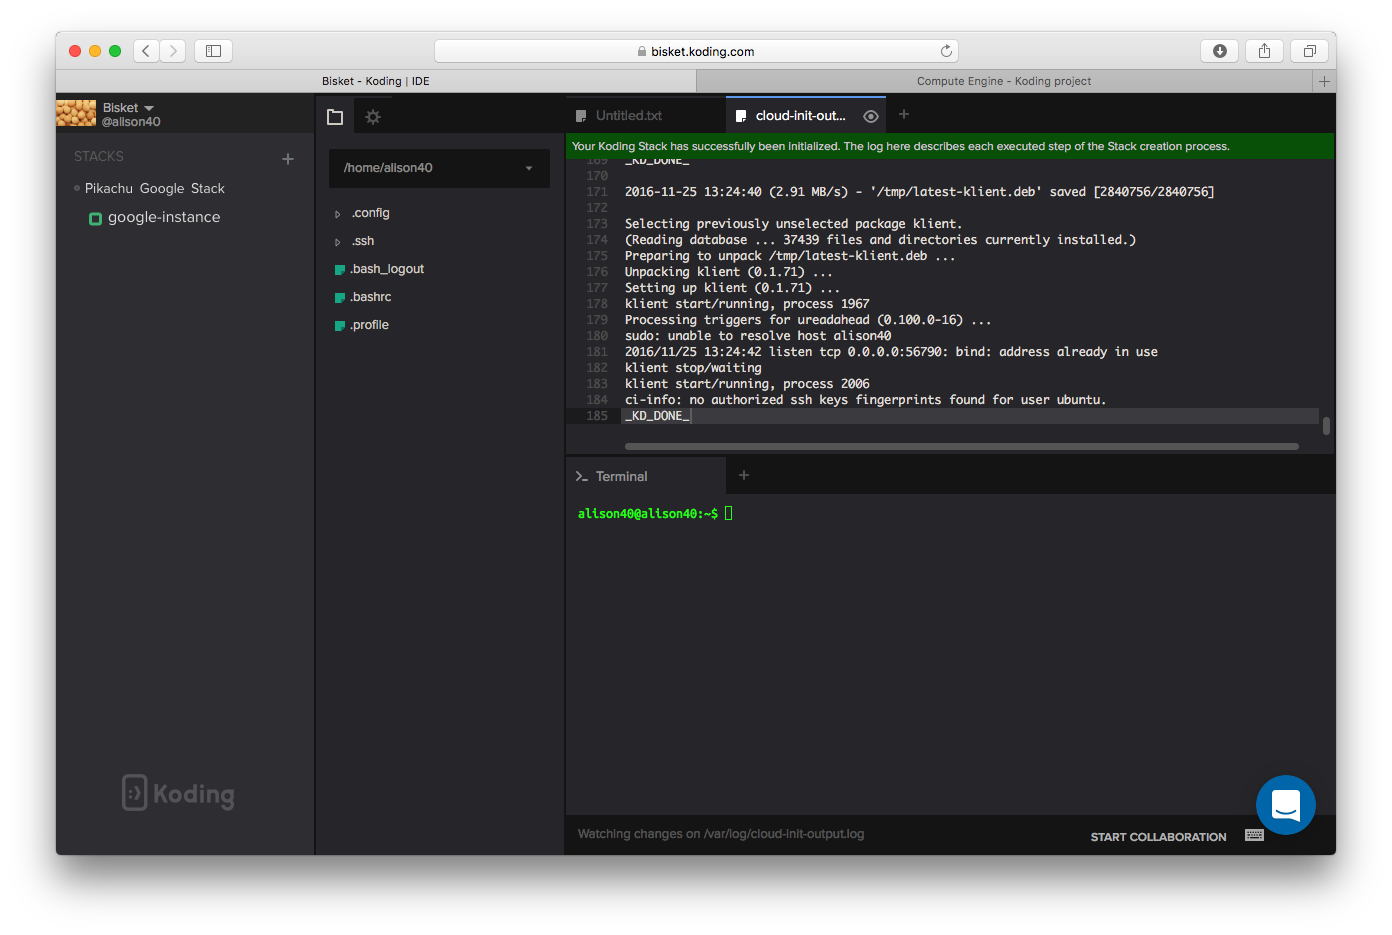
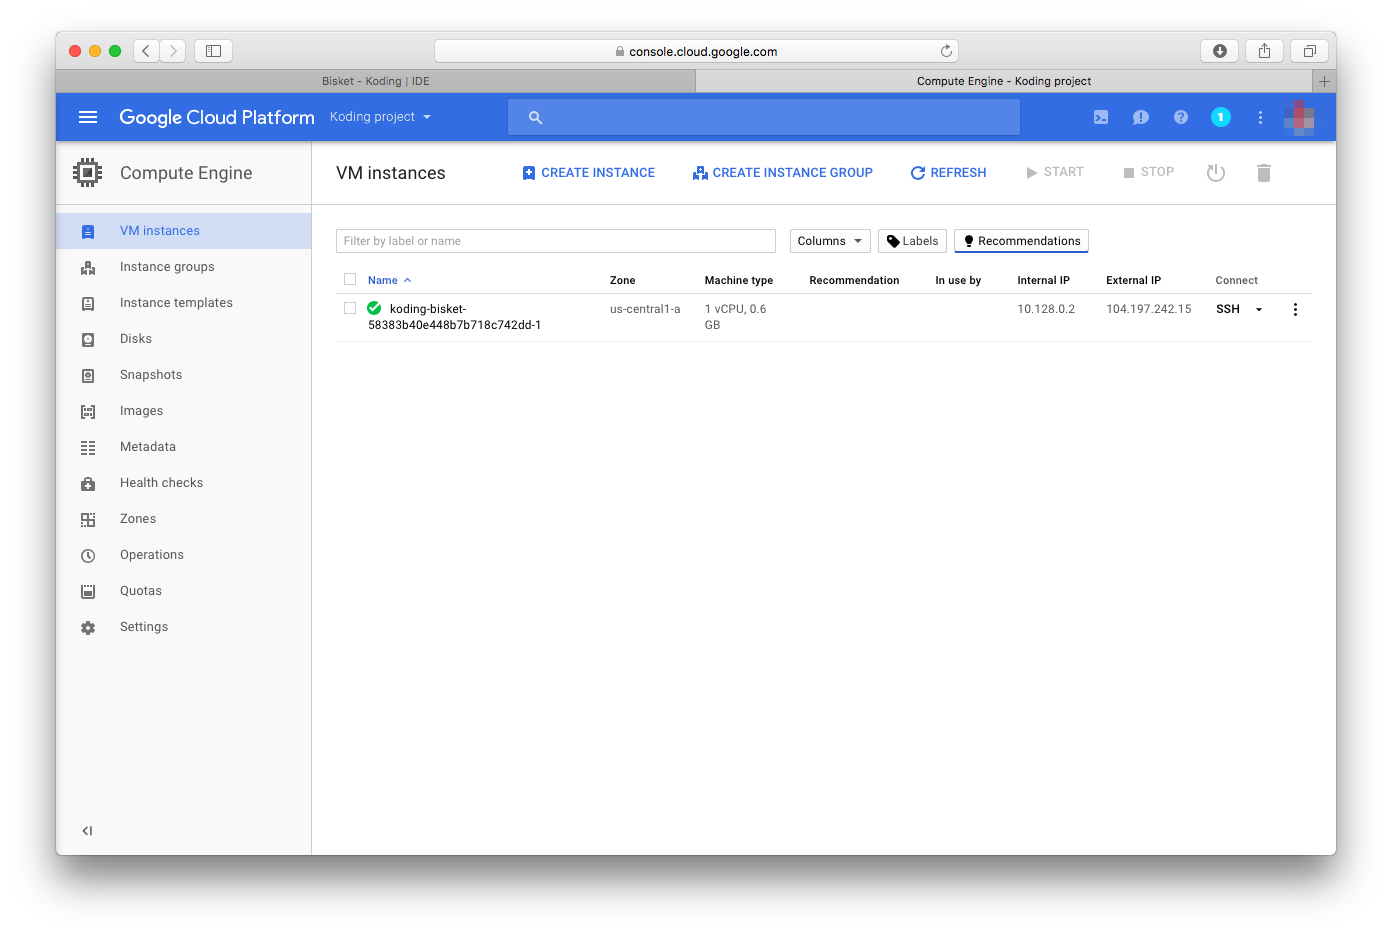
You can also see your VM created on your GCE account